How to Store and Organize Seeds
You need a system for storing seeds that lets you find what you have quickly and easily. It should keep them protected from pests and help your seeds last a long time. In this post and video, we’ll talk about about how to create just such a system for storing and organizing your seeds.
Explore the entire Seed Series here.
It started with a small seed tragedy at our house. I got pretty busy at the end of the season last year, so I had seeds in lots of different places: saved in paper bags and cardboard boxes, stacked on my desk, shoved on the shelf in the kitchen. Lots of different places.
One of the cardboard boxes ended up in the garden shed where mice got into it. 😔 They ate ALL the sunflower seeds and quite a few of the others.
We brought it to the deck so we could get it cleaned up and re-organized. Guess who got into it?
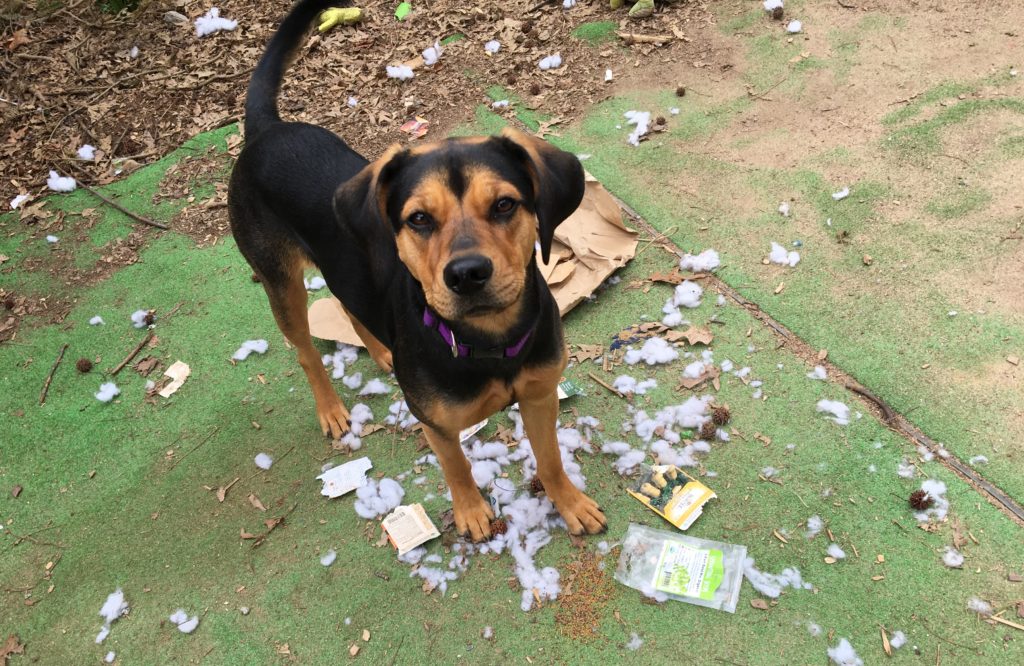
Indigo, the Queen of Destruction.
This puppy tries to eat everything. She chewed up seed packages. She flung seed all over the yard. Total mess. The boys are sure we’ll have a jungle in the yard soon…but it’s probably to shady in this area!?
In any case, thanks to Indigo’s prompting, we knew it was time to get our seeds re-organized and into a better long-term system. I’m excited to share it with you today.
What You Need in a System for Storing Seeds
A good system for storing seeds should have four characteristics:
- It’s easy to find specific seeds. If you’re shopping for seeds, you know what you have and what you’re missing. If you send one of the kids or a partner in to get a certain seed, they can find it.
- It protects your seeds from pests. Seed-eating pests, including mice, insects, and sometimes dogs, won’t be stopped by a cardboard box out in the shed. You need a container that closes tightly and maybe even one that seals, depending on where you live and what kind of pests you have.
- It keeps your seeds at ideal conditions. Most of our vegetable seeds and annual flower seeds stay viable the longest in cool, dry and dark conditions. (Does that mean you should put seeds in the fridge? Maybe, we’ll cover that towards the end.)
- It has flexibility. You need your system to work, even when you’re not carefully managing it. It should work if somebody else is putting up the seeds or if it’s a crazy time of year and you’re doing well to just get the seeds in one place. A good system has a way for you to quickly add seeds, knowing they’ll be safe and at ideal conditions, and then you can come back and do some maintenance later.
If you already have a method for storing seeds, how does it stack up?
If you don’t have a system yet or if you’re considering a new one, let me walk you through what we do after trying many different approaches and learning an important lesson from mice and the dog last season.
How We Store & Organize Seeds
Here’s a step-by-step look at the system we’re using.
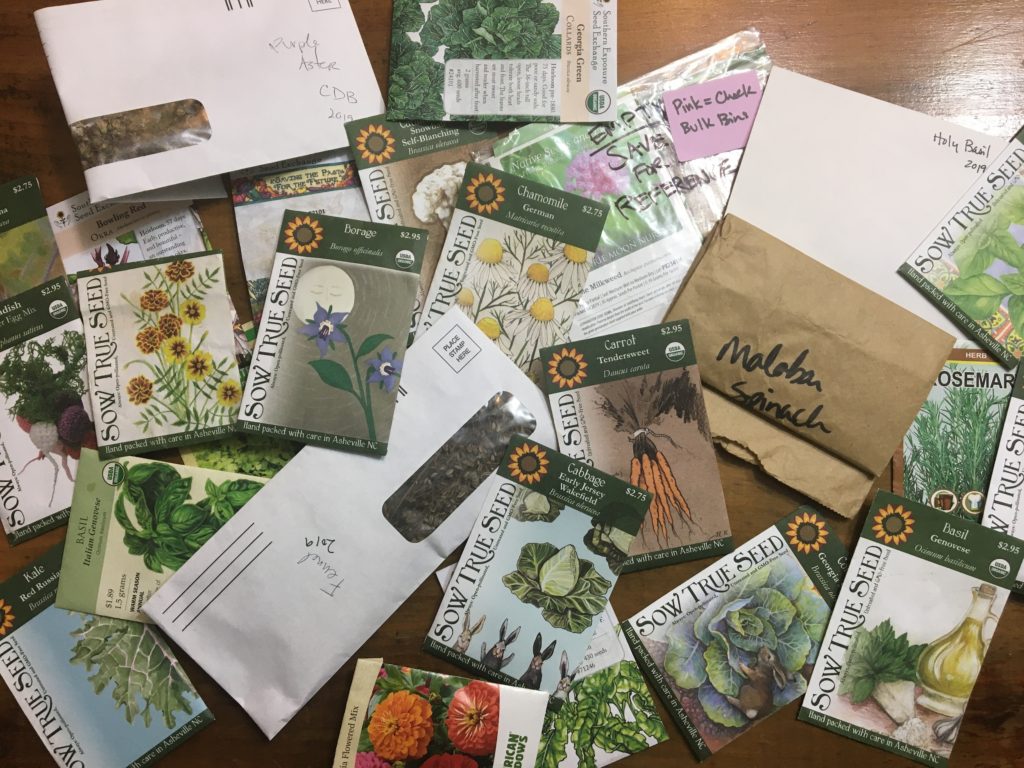
Step 1: Gather All Your Seeds
Walk around to all the potential places where you have seeds (mud room shelf, garage, garden shed, kitchen counter, fridge, freezer, etc.). Put them all into one place so you can see how many you have.
Step 2: Gather Your Supplies
- Container – large enough to hold all the seeds you found, plus any you know you’ll order/collect this season. Plastic, metal, or tempered glass work well.
- Envelopes or paper bags for individual seeds – avoid plastic as it could trap moisture.
- Dividers – cardboard or paperboard cut to fit in your container
- Pen or marker
- Tape
- Seeds
- Desiccant (optional)
You can re-use containers and envelopes from around your house or find them at resale shops. Or easily order everything you need with our seed organizing system kit. (Kit include affiliate links.)
Do You Need Desiccant?
A desiccant (a.k.a. drying agent) will extend the lifespan of most types of seeds, especially in humid conditions where seeds are more vulnerable to decay. Desiccant locks away the moisture from of the air, which means seeds stay dry until you’re ready to plant them.
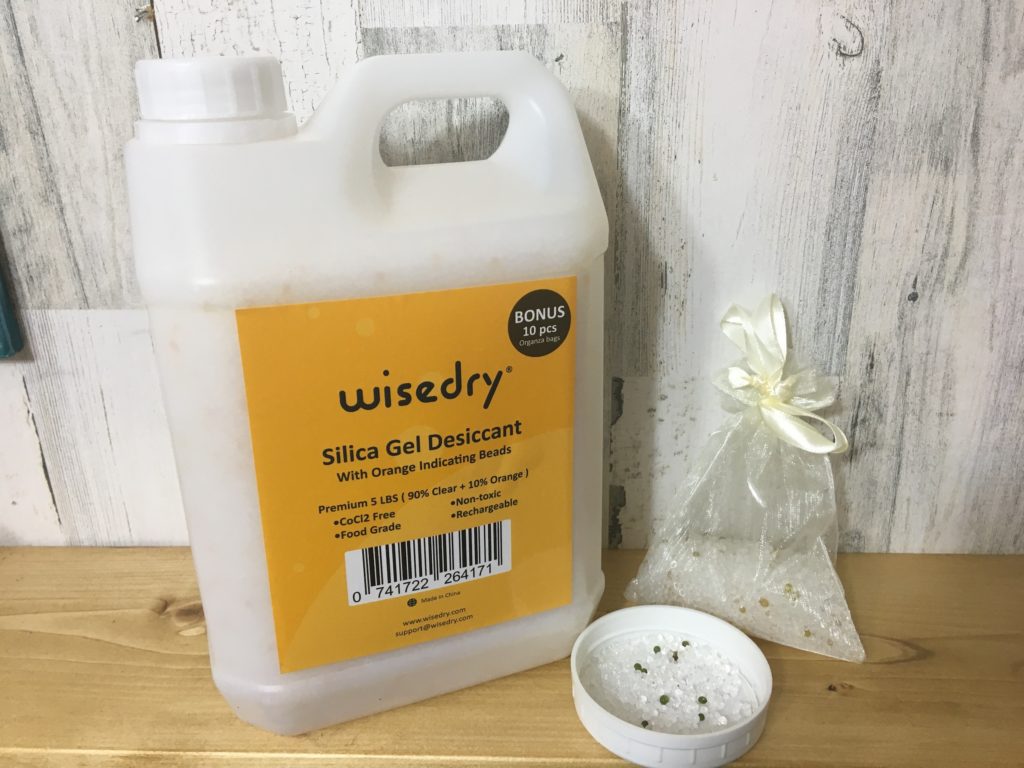
Since we’re saving more and more seeds going forward, we decided to invest in silica gel beads that we can use again and again. This brand has orange beads that turn green when they are “full” of water. Then, we can dry them out in an oven (regular, solar, or microwave).
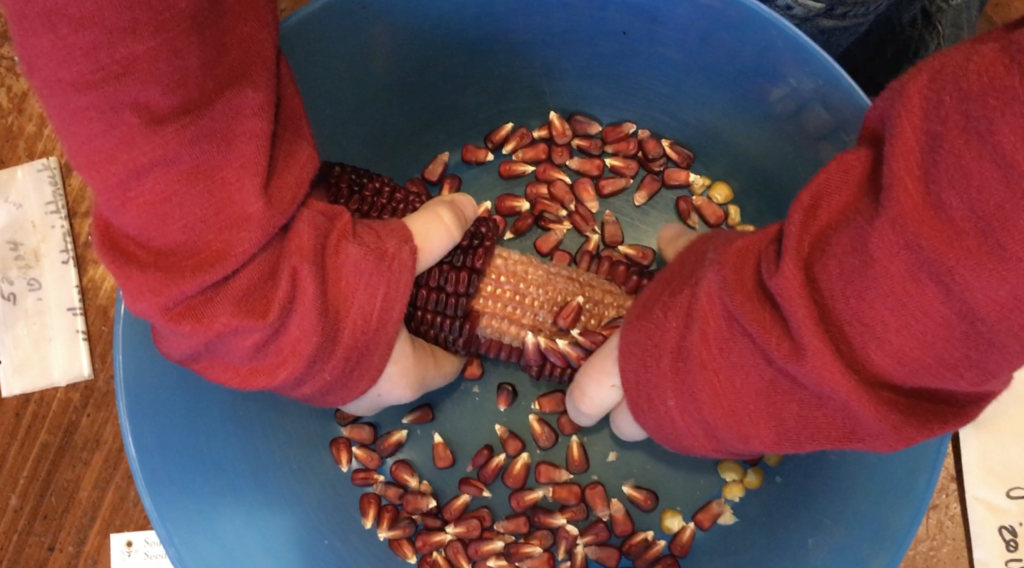
Step 3: Sort & Clean
Now, you’re going to start grouping like with like. Put your kale together, your lettuce together, your peppers together, and so on.
If you saved your own seed last season and didn’t remove the seed heads or chaff yet, do that now. The kids brought cobs of dried corn home from school. It’s a red variety called ‘Bloody Butcher.’ Although the name’s a little dark, it’s gorgeous, and we’ll plant it this year. The kids shelled it for me.
Step 4: Choose Method of Filing
Once you have everything cleaned up and grouped, it’s time to decide how you’ll file seeds. We organize by botanical plant family, and I’ll explain why below. However, if you’re beginning and have only a few types of seeds, keep it simple by going alphabetical.
You could also file seeds based on the timeframe that you’ll plant them — spring, summer, and fall. My friend organizes her seeds down to the week that she’s going to plant. (I love the idea of this, but my tendency would be to go into a lot of detail…and with a busy life and young kids, things don’t always go according to plan. I could see myself getting frustrated that I’m behind with seeds in the wrong list.)

We use botanical plant families to organize our system for a few reasons:
1. We rotate annual crops in our gardens by family. If we grow the same thing on the same little piece of soil every year, it both depletes the soil and concentrates pest and disease pressure. When we rotate, we break the cycle of those pests. Organizing our seeds by family makes it easy to see at a glance which plants share a family and should thus be rotated together. For example, squash and melons are both in Curcurbitaceae, and so the same bed shouldn’t be used for squash one year and melons the next.
2. I enjoy learning more about how plants are related. And I like knowing that the kids and Colby are also learning every time we work in the seed system.
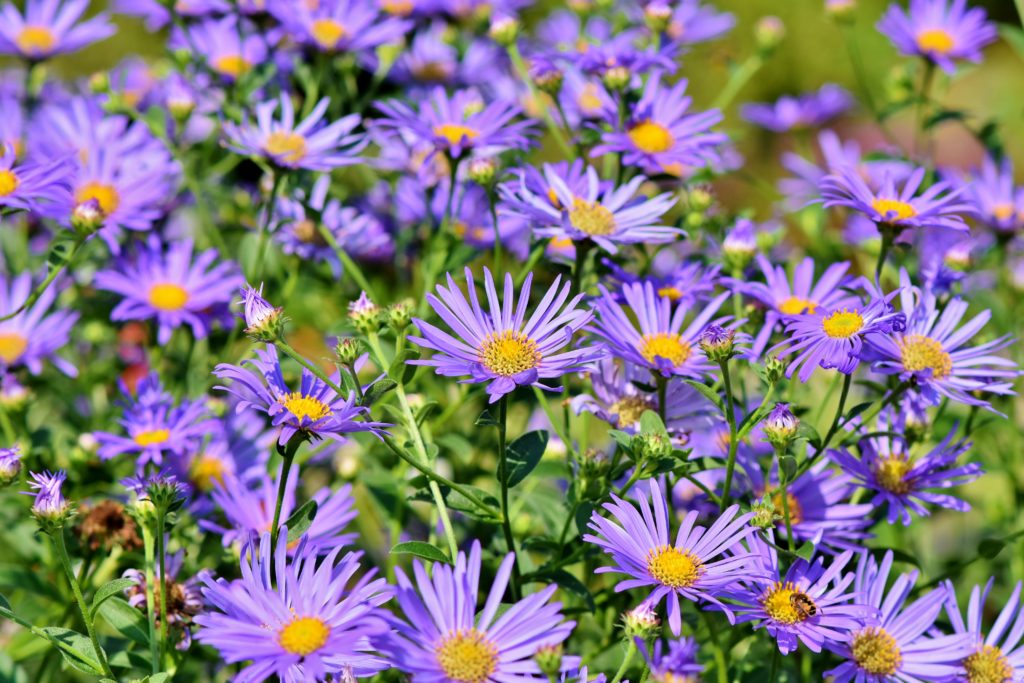
For example, lettuce and the beautiful purple asters you see in the fall are both in the Asteraceae family. Sunflowers are in it, too! If you let a lettuce bolt and go to seed, you’ll see the flowers share characteristics and some of the same pollinators.
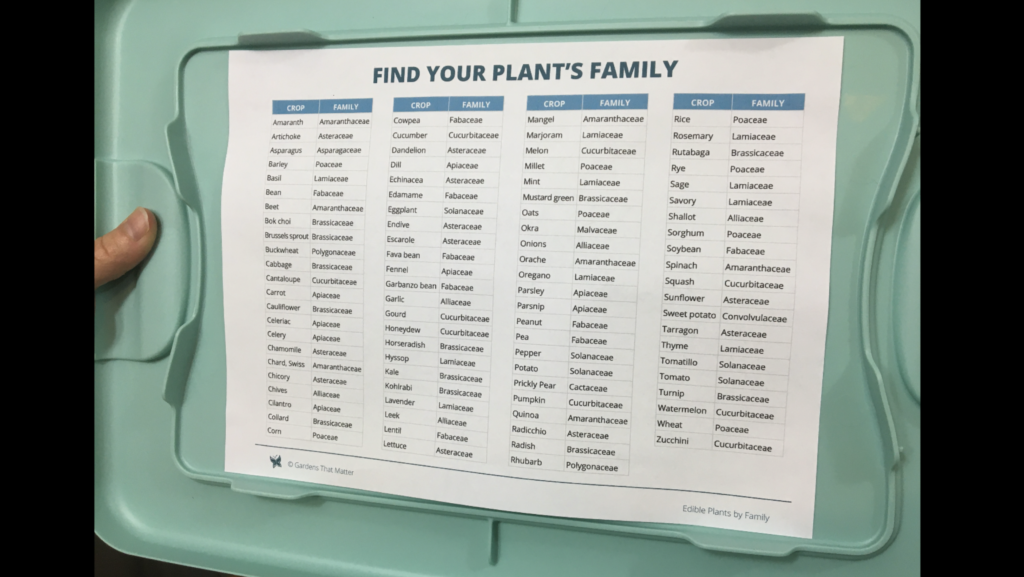
Here’s a printable plant family reference you can add to the lid of your container.
Don’t feel intimidated by these long botanical names. Say them with confidence. 🤓 Most people won’t know the difference…and if they do, you’ll learn something new! Or you can keep the Latin names for filing and use common names like “Daisy Family” and “Cabbage Family” when you talk about each group.
A Hybrid Twist
We still need a way to take seeds out to the garden or planting table on planting days. If the seeds are just in a basket or loose, they’re not likely to end up in the right place and they probably won’t stay dry either.
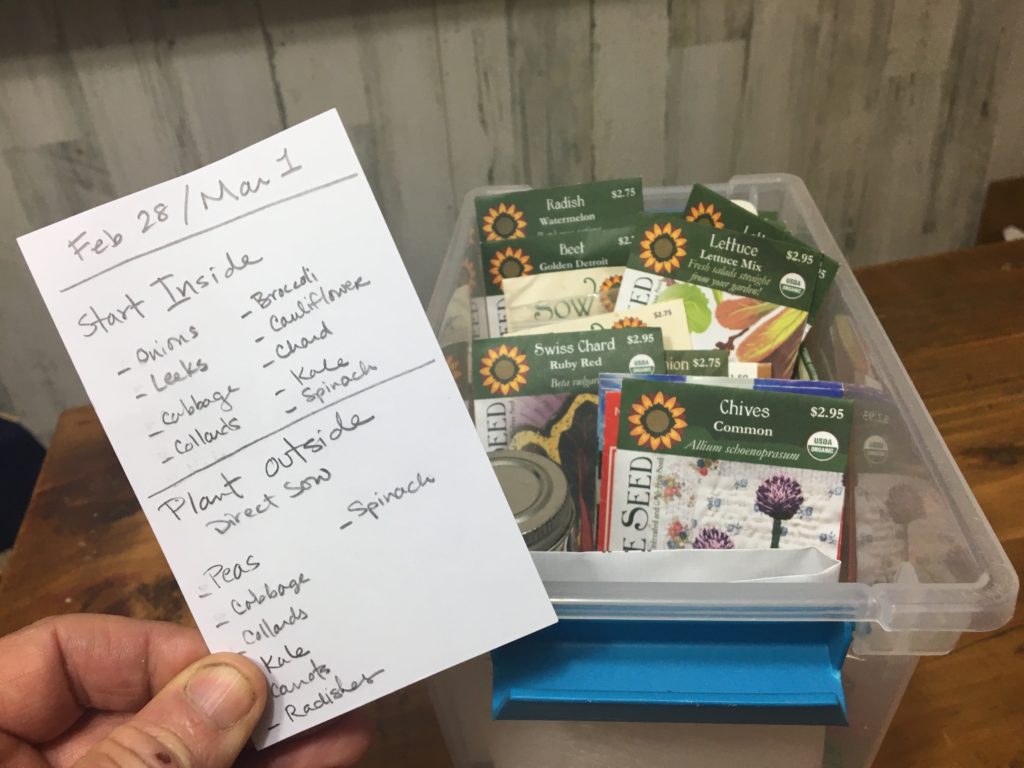
Colby came with a simple solution: a hybrid system with a smaller plastic bin for the seeds we’ll plant soon. When we know we’ll be planting, we can go to the main box and pull out just what we’ll need.
Seeds can stay in this active bin for several weeks if they’re going to be used for succession planting. For example, we can plant a few radishes and lettuces each week so we have a steady supply ready to harvest.
Step 5: Create Dividers and Start Filing
Create your dividers and start filing your seeds based on the system you selected.
Make sure you create an area for unsorted or miscellaneous seeds. This is where you and your family can put seeds when you’re not sure where they go or you’re in a rush. It keeps the system flexible, which is key for a system that works long-term.
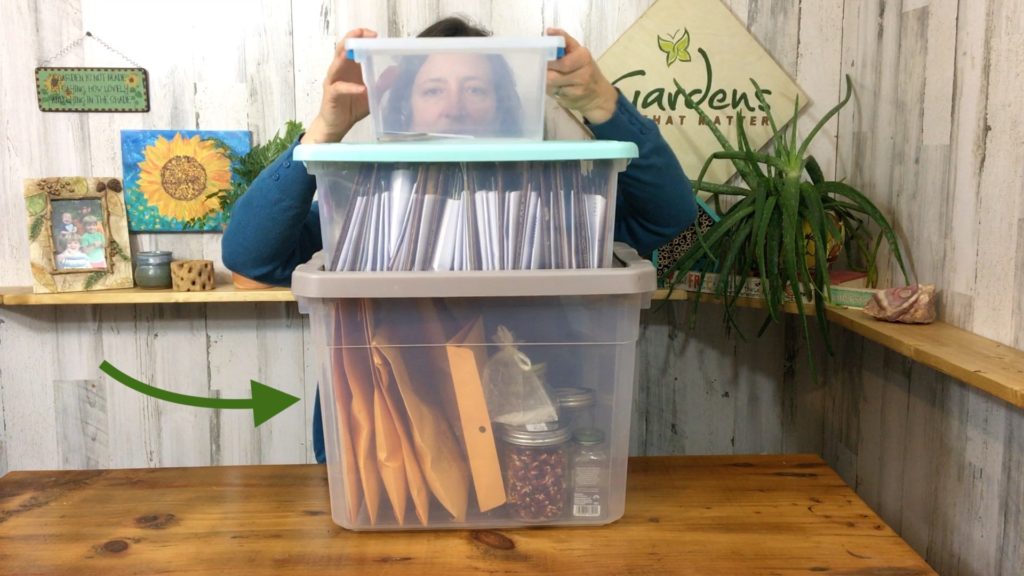
Adding in Bulk Seeds
If you collect or purchase seeds in bulk, you may want to use large envelopes or jars for storing them. To keep things tidy, we have a second larger bin to hold the large envelopes and jars. We can make notes in the main container about what we have. This is a big bag of wingstem that we saved out of the garden last year, and it’s a beautiful Astre ACA wildflower plant. It’s in the daisy family so I can make a note on that card. This list is keep our book seeds all together.
Step 6: Store in a Cool, Dry Place
Finally, keep your container in a cool dry dark space. We use a closet in a room that’s naturally cooler than other parts of our house.
I’ll add a couple desiccant packets to each bin to keep everything nice and dry.
Should Seeds Go in the Fridge or Freezer?
If you have the space, you can store your seed bin in the fridge or freezer, but be cautious about a few things:
Seeds must be very dry. If seeds go into the freezer with too much moisture inside, that water will expand when it freezes, bursting the seed coat and possibly killing the seed.
When you take a container out of the fridge, wait until they reach room temperature to open the container. Otherwise, moisture may condense on the seeds or seed packets and cause moisture-related problems later.
Some Seeds NEED Cool, Moist Conditions
If you look in our fridge, we do have a few seeds stored in moist vermiculite. Most of these are native wildflowers, like passionvine and milkweed, and they need stratification (a period of cool, moist conditions) in order to germinate. Cold storage emulates what happens to seeds over winter. If you grow lots of native plants, you’ll want to learn more about different germination requirements. This blog post from Prairie Moon Nursery about their species-specific germination codes are a good place to start learning.
Now, It’s Your Turn!
I’d love to hear from you in the comments. What takeaways do you have from this tutorial? What seed storage setups have worked well for you in the past? How will you be organizing your seeds this season?
Thanks for the great info. I have seeds all over the place and am looking forward to getting them organized. I also appreciate the handout on the families. I am getting ready to plant some cool weather plants, this is the first time I have tried this. We will see how it goes.
Indigo probably did that to your seeds because s/he smelled the mouse scents on the packets. She may be a good mouser, and could earn her keep, if you set her to it!
Thanks for all the info on storing seeds. Mine are old and new, “sorta” organized (last year) and need a container and labeling. Thanks also for the list of family names chart. I’m just learning about rotating. My hubby built raised beds since we have a lot of springs on the property (wet, cold soil) and clay (Penna.) I sift the compost and it is SO NICE to plant in! We just bought a cow panel (metal fence 16’x4′) that will be bent into an upside down U for peas, cucs, or beans and placed between 2 beds. I am really excited as to how our garden is progressing!
I think you’re right, Tuffy! She has caught a few mice and voles already, and she loves to dig.
Your growing garden sounds beautiful, Joy! We’re going to add some cow panel “U”s for trellises this year, too.
I’m glad that it’s helping you, Rebecca! It’s exciting to see all those seedlings pop up. Let us know how it is going for you. 🙂