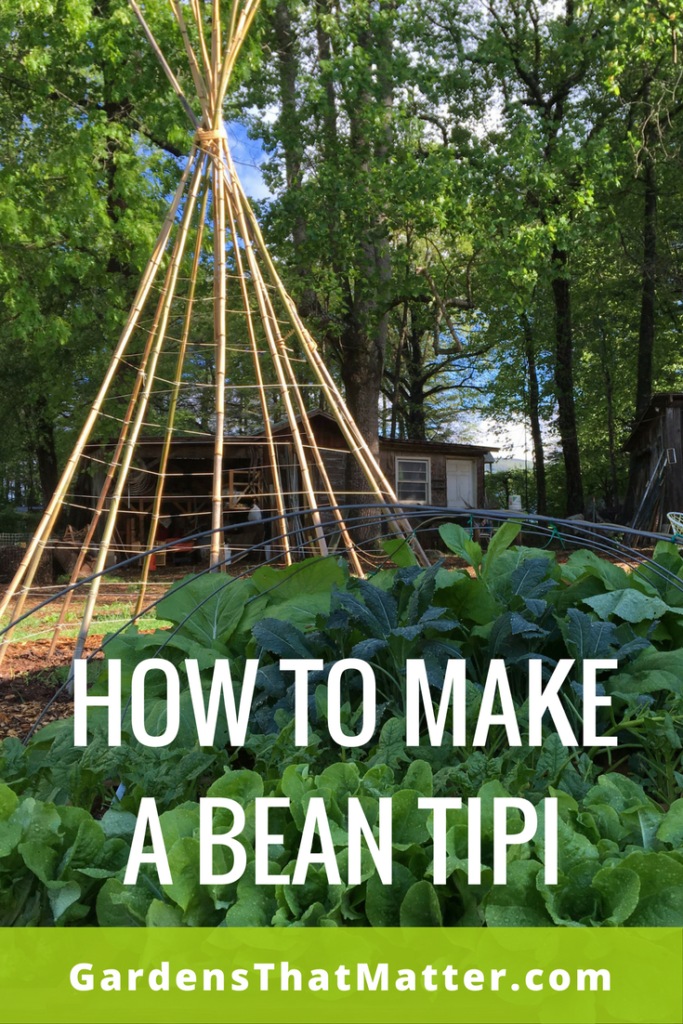
How to Make a Bean Tipi
What do kids and beans have in common? They both love to climb! In today’s tutorial, we’ll show you how to make a bean tipi (or teepee!) for beans to climb. The kids? They’ll be hiding inside in another month or so. 🙂
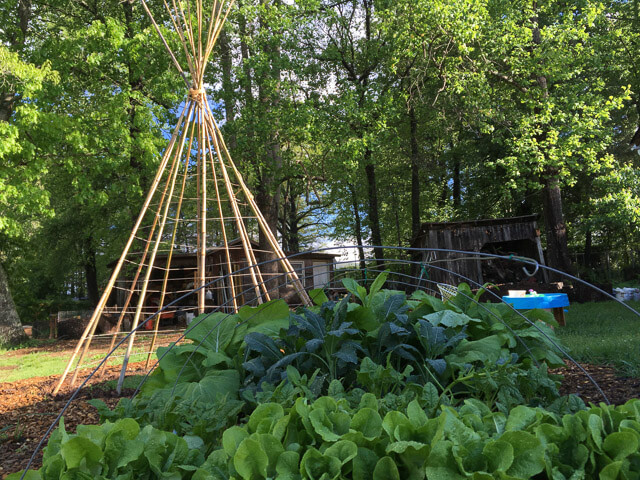
This was a big project (and a big tipi!), so we spread it out over a few days. You can watch the process in our video tutorial. I’ll include additional details in the blog post below the video.
The Overview and Timeline
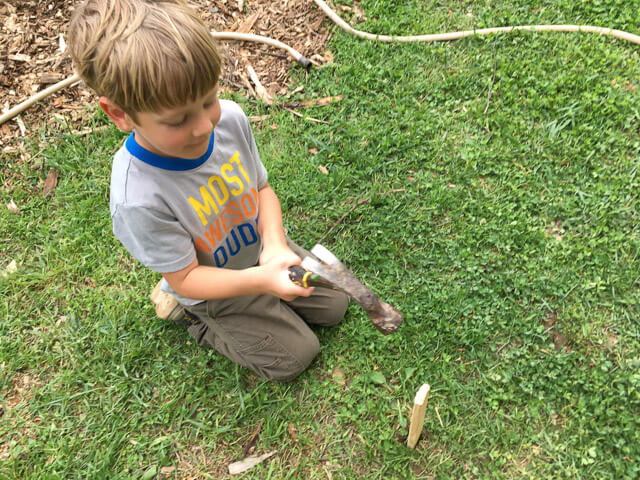
Here’s an overview of the steps and a suggested timeline. *Stars* indicate steps our kids helped with during the project.
Friday Evening (or another evening the week before)
- Gather Materials*
- Choose the Site and Mark the Center*
- Layout the Circle*
Saturday
- Prepare the Soil* (Half a star. 🙂 As you’ll see in the video, Colby and I did most of this step.)
- Tie and Raise 3 Poles
- Add the Other Poles
- Tie the Bundle Together
Sunday
- Add Twine Between Poles (I did this one solo, but older kids could definitely help!)
- Plant Seeds!*
- Mulch (Optional, but recommended – I did this after we finished the video.)
Let’s dig in!
Step 1: Gather Your Materials
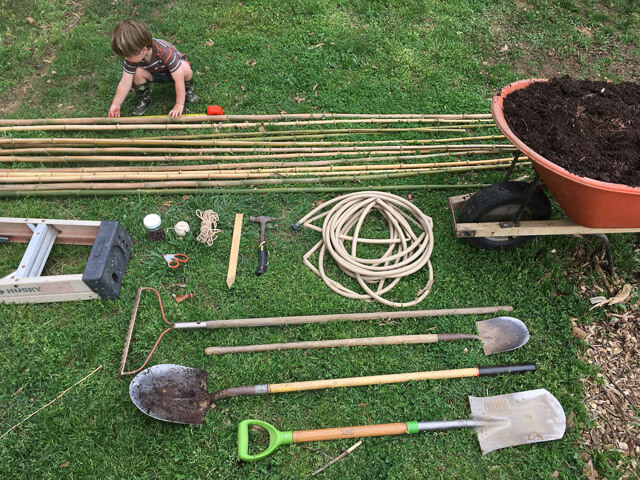
Tools
- Clippers (for trimming side branches off bamboo)
- Hammer
- Tape measure
- Stakes (We used 9.)
- Water hose
- Wheelbarrow
- Shovels
- Digging fork
- Rake
- Permanent marker
- Ladder
Materials
I’m going to list materials for our big tipi, which is 8 feet in diameter and about 12 feet high. The poles come together 10 feet up. We went big because a friend gave us awesome bamboo. (Thanks, Victoria!) You can definitely scale this down based on the size of your yard and materials you have available:
- Compost (We mixed in a generous 1-inch layer of homemade compost, or about 6 cubic feet. Step 10 has tips for calculating how much.)
- Other amendments (based what your soil needs…if unsure, start with compost and do a soil test)
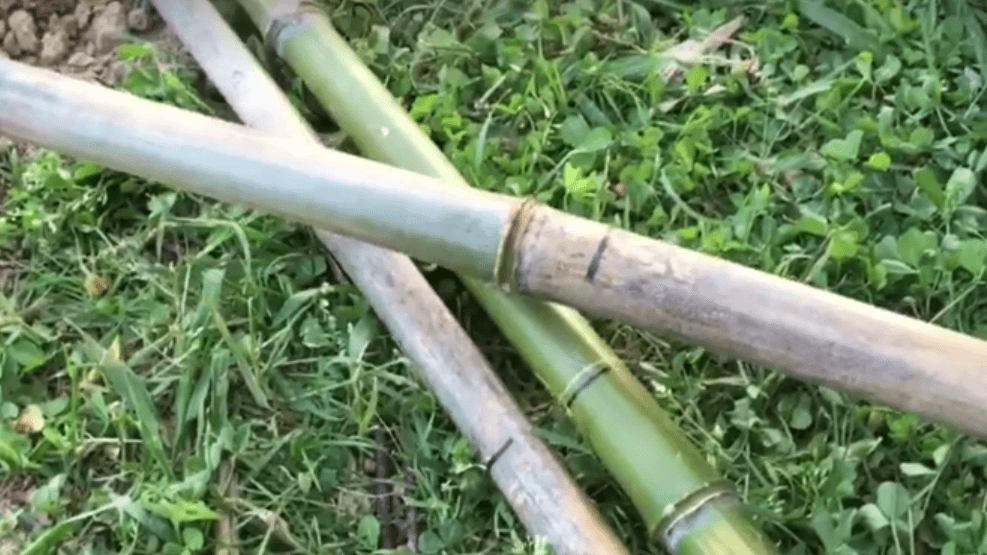
- Twelve poles, at least 12 feet long
- Our bamboo tipi lasted two seasons before the poles got brittle.
- Our second tipi was made with saplings and lasted four seasons.
- Rope made of natural fiber, 3/8″ thick and 20 feet long.
- Twine made of natural fiber, 1/16″ thick and 200 feet long.
- Natural fibers include manila, sisal, jute, hemp, and cotton. For the rope, the natural fiber is important because it makes a knobby rope that doesn’t slip against itself when you wrap the bundle in Step 7. For the twine, the natural fiber makes fall clean up easy—the twine and leftover vines can all go into the compost. (Although if you turn your compost often, cut the twine into smaller pieces first, so the tangles don’t make you crazy!)
- Seeds – We’re using Scarlet Emperor runner beans, trailing nasturtiums, and Malabar spinach on the teepee. Around the base, we also planted radishes and small sunflowers.
- Mulch (See Step 10 for calculating how much you need.)
Step 2: Choose Your Site
Choose a level spot that gets at least 8 hours of sunlight a day for the best results. Be sure you have easy access to water.
If needed, mow the area or cut down large weeds.
Mark the middle of your tipi with a stake.
Step 3: Layout Your Circle
Measure out from the center and use stakes and/or a garden hose to outline the perimeter of the tipi.
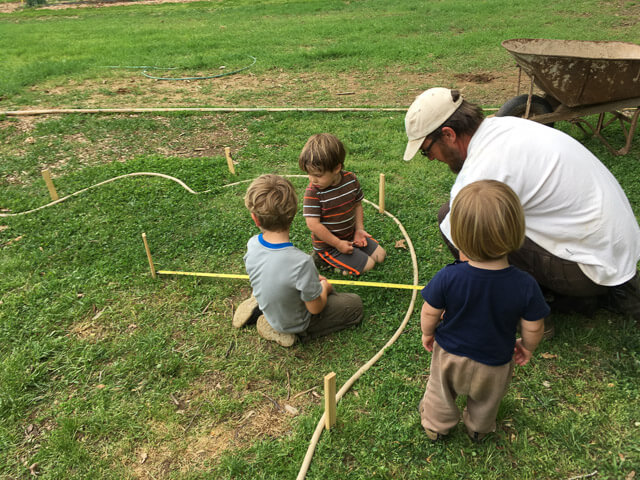
Pick where your door will be. We put our on the north-east side, where there’s less sun and the entrance is a little more hidden!
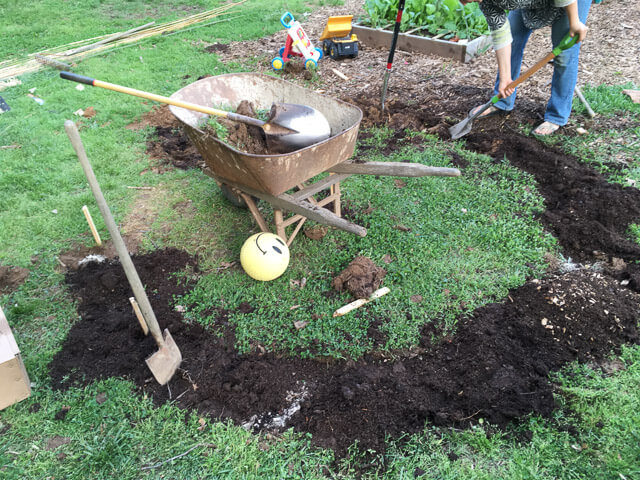
Step 4: Prepare Your Soil
Create a planting area around the circle in a swath about 12 inches wide. No need to dig where your door will be!
Remove grass and weeds.
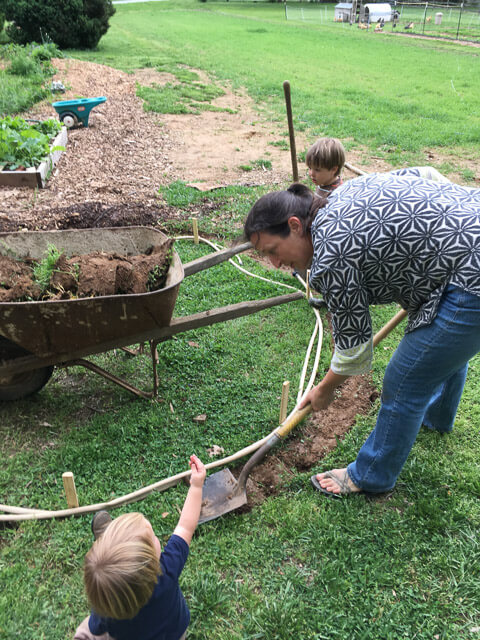
Add compost and amendments. Mix them into the soil. In the video, you can see how we used the Double Digging technique about 4 minutes in.
Step 5: Tie and Raise 3 Poles
SAFETY NOTE: For Steps 5, 6, and 7, be sure small children are safely away from the tipi site. Older kids can help, but everyone needs to pay close attention. Our tipi fell over the first time because I didn’t have the first three poles arranged evenly. Yikes! Happily, it fell away from where we were all working/playing, but what if?… I definitely recommend having two adults do this part. Young ones can return after the tipi is solidly assembled!
Lay two poles down parallel to each other. We’ll call these A and B in the tutorial. Put a third pole on top at a 30-degree angle. This is your door pole.
Measure and mark 10 feet from the bottom of each pole. Line up the marks.
Tie the poles together with a clove hitch. (In the video, Colby demonstrates about 7 minutes in.) Wrap the tail around the poles three times and tie off the extra on your door pole with another clove hitch. The long end of this rope will be used in Step 7 to wrap the bundle.
We learned this technique from the excellent tutorial by Nomadic Tipi Makers for setting up their full-size covered tipi. I totally want a real tipi now. 🙂
If needed, rotate the poles so that your door pole is to the left of your door opening.
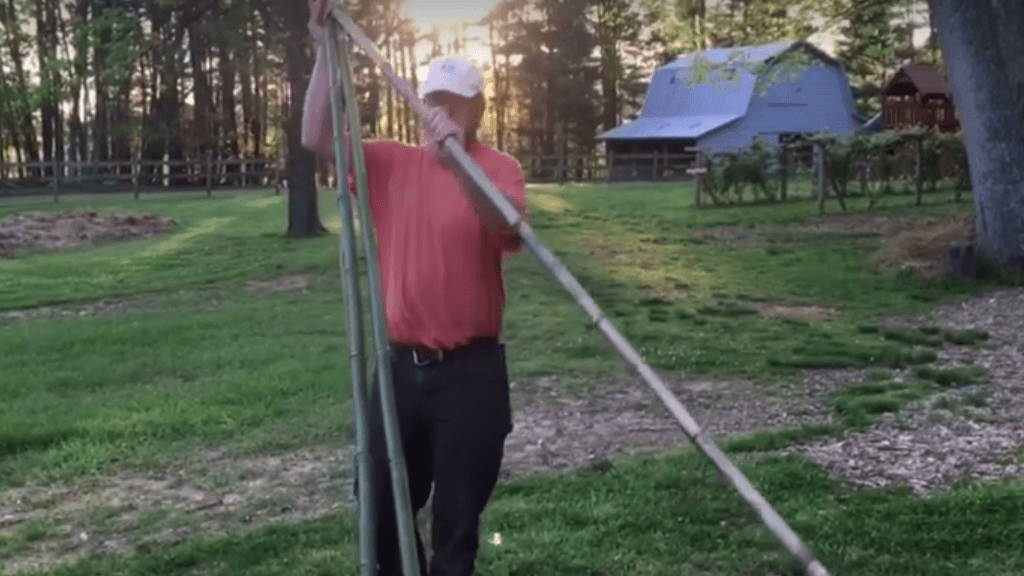
Raise the three poles, and spread out poles A and B. Adjust their spacing to make an even, stable tripod.
For these poles and the ones that follow, press the bottom ends firmly into the soil.
**If your tipi is in a windy spot, bury the poles deeper or anchor the bottoms with stakes hammered into the soil.**
Step 6: Add the Other Poles
Add the other 9 poles to the tipi. Let’s call them Poles 1 through 9. Here’s a ground plan sketch to help you understand placement.

Pole 1 goes on the right side of your door. Slide the top into the crotch in the poles above.
Pole 2 goes to the right of Pole 1, so you’re moving counterclockwise. At the top, it will stack on top of Pole 1. Repeat with Pole 3. Poles 1-3 are evenly spaced between the door opening and Pole B.
Now, move to the left side of your door and place Pole 4 next to your door pole. Continue moving clockwise and place Poles 5 and 6, spacing them evenly between the door pole and Pole A.
These three poles also stack into the same crotch at the top. Place them gently, so you don’t knock all of them out!
Now, move to the back side of your tips. Poles 7, 8, and 9 will be placed evenly in this gap, moving counterclockwise from Pole B to Pole A.
Pole 7 goes next to Pole B and slides into the crotch above. (There are two possible openings at the top. You’ll know you have the right one when the pole fits nicely into the bundle. Place Poles 8 and 9, stacking them on top of Pole 7 above.
Step 7: Tie the Bundle Together
Take the long end of your rope from Step 5 and start walking around the tipi in the direction that will pull your original clove hitch tighter. (Counterclockwise in our case.)
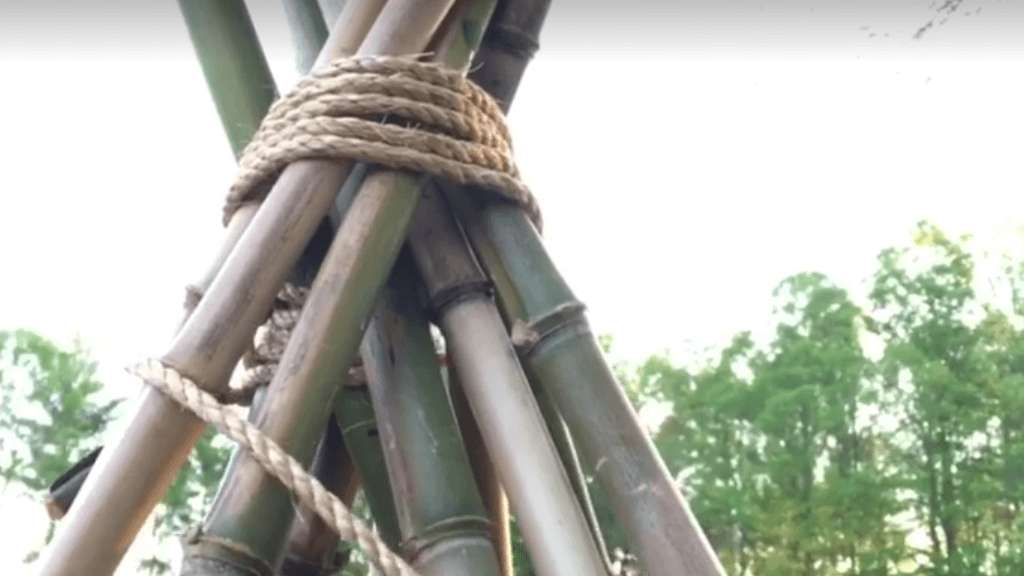
As you walk, whip and snap the rope so that it cinches up tightly against the coil above. Use the ladder if needed.
Step 8: Add Twine Between Poles*
Many climbing beans could grow right up the poles without twine, so this could be an optional step. We want a nice dense cover and we’re growing a variety of plants, so we added twine between the poles.
Tie the first piece of twine 6-8 inches above soil level. Attach it to a door pole, move to the next pole and wrap it around twice. The friction should hold it in place, as long as you keep the line taught. Work your way around to the other door pole and tie a knot.
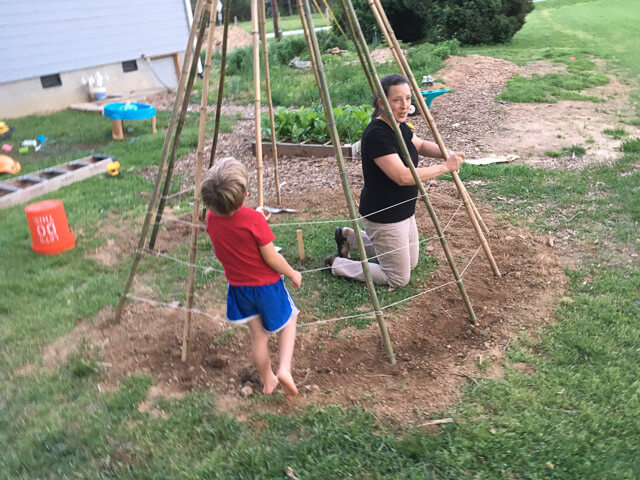
Move up about 8 inches and then loop the twine through itself so that it’s held in place again by friction as you move back around the circle. This leaves your door space open.
Work your way back and forth until you can’t reach higher or the poles get close enough together you don’t need the twine!
*Update: Runner beans climb vertical lines more quickly and easily, so we added twine in between each pole running from the top to the bottom in later versions. (Photos below.) You can do this pretty easily if you get a step stool and tie from the tallest horizontal twine down to the lowest.
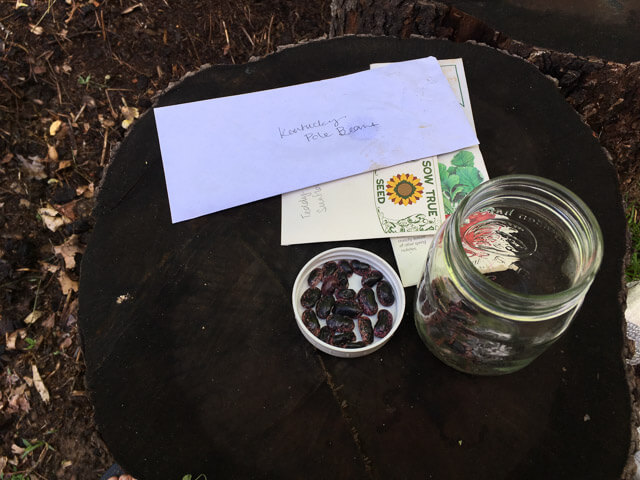
Step 9: Plant Your Seeds!
As I mentioned above, we planted Scarlet Emperor runner beans, beautiful shelling beans with flowers hummingbirds love. You could use any kind of pole bean here.
Since we love to plant diverse mixes, we also added trailing (and edible!) nasturtiums and Malabar spinach. The nasturtiums may need a little help getting started on the twine and poles. The Malabar spinach isn’t a spinach at all, but a vine with leaves you can eat like spinach. It should do well all summer long.
What else could you grow on the tipi? Early or late in the season, peas should work. In summer, you could try cucumbers or even tomatoes, if your structure is heavy duty and you don’t mind training/tying the tomatoes on! Morning glories would be gorgeous, but the seeds are poisonous if eaten…so I don’t use them here. on the teepee.
Don’t forget the base! You’ve prepared a lovely soil bed, and the beans are headed up. You have room to plant some low-growing veggies and flowers around the edge. We planted a radish mix and dwarf teddy bear sunflowers around our tipi.
Once you’ve selected what to grow on your tipi, follow the planting depth and spacing suggestions on each seed packet.
Water well.
Step 10: Mulch
This step is highly recommended. Mulch will conserve moisture and discourage weeds.
Use a light layer of fine mulch (like straw or shredded leaves) over your planting bed. You can add a thicker layer once the plants are up.
If your bean tipi is in a lawn, put down a layer of cardboard or newspaper with heavier mulch (like wood chips) on top. This will keep the grass from creeping back into the bed, and make it easy to mow around the tipi.
How much compost and mulch do I need?
We make our own compost and usually have a pile of mulch (thanks to a local tree company), but if you need to get it by the bag, here’s how you can determine the number to get.
Step 1: Calculate the area inside the tipi (inner circle).
Since the tipi has an 8-foot diameter, we can find the area inside the tipi using this formula.
Area = π r²
Area = π × 4² = 3.14 × 16 = ~50 square feet
But since we weren’t mulching inside the tipi, we needed to calculate the outer mulch ring.
Step 2: Calculate the area of the larger circle (including the mulch ring).
With a 2-foot-wide mulch ring around the tipi, the total diameter became 12 feet (8 feet + 2 feet on each side).
Radius = 12 ÷ 2 = 6 feet
Area = π × 6² = 3.14 × 36 = ~113 square feet
Step 3: Subtract the inner tipi area.
113 square feet (outer circle) – 50 square feet (inner circle) = ~63 square feet
Step 4: Calculate the material volume.
For a 1-inch layer of compost, first convert inches to feet (1 ÷ 12):
1 inch = 0.083 feet
Now multiply that by the area:
63 square feet × 0.083 feet = ~5.25 cubic feet of compost
For a 2-inch layer of mulch, again convert inches to feet (2 ÷ 12):
2 inches = 0.167 feet
Multiply that by the area:
63 square feet × 0.167 feet = ~10.5 cubic feet of mulch.
Step 5: Determine compost and mulch quantities by the bag.
Since compost and mulch are commonly sold in 2-cubic-foot bags:
Compost (1-inch layer):
~5.25 cubic feet ÷ 2 = 3 bags (rounded up)
Mulch (2-inch layer):
~10.5 cubic feet ÷ 2 = 6 bags (rounded up)
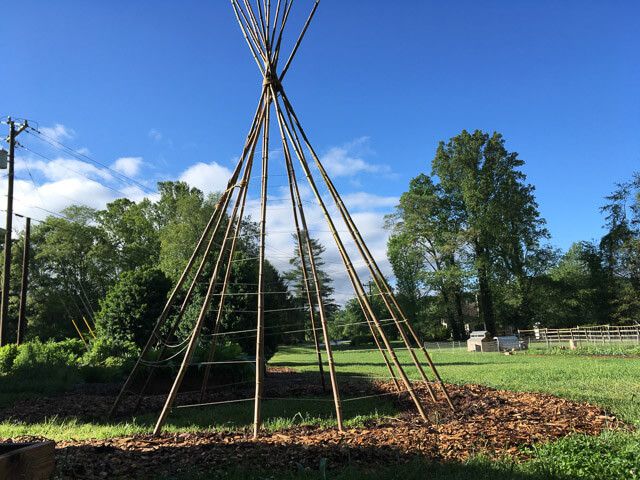
Now, we wait…
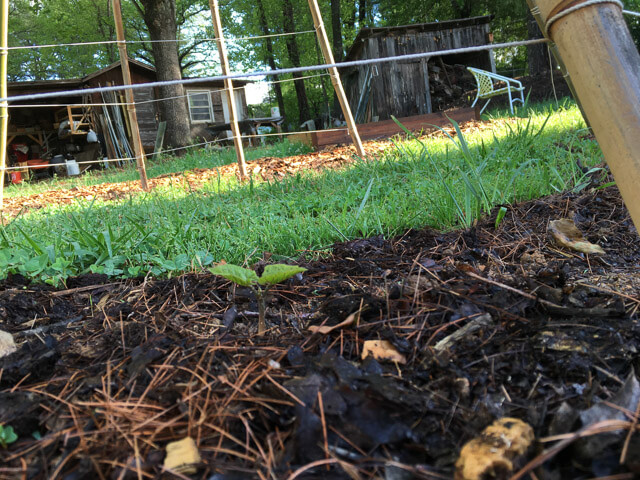
Our first bean seedling! By mid-summer, we’ll have a nice shady spot and lots of veggies growing. 🙂
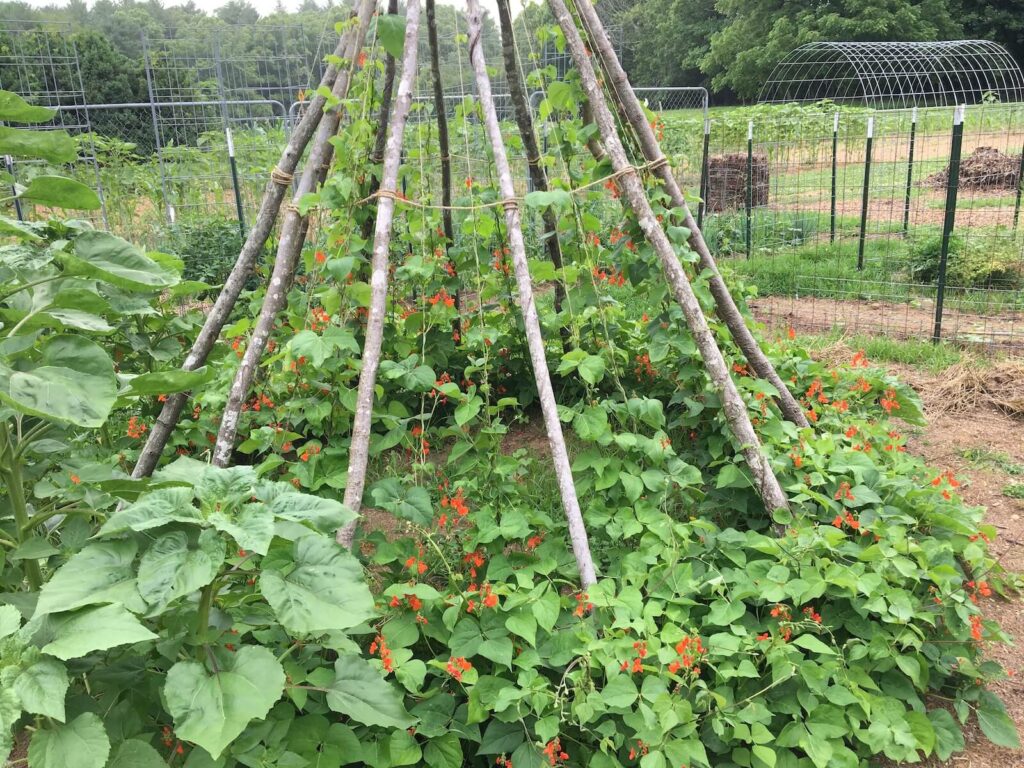
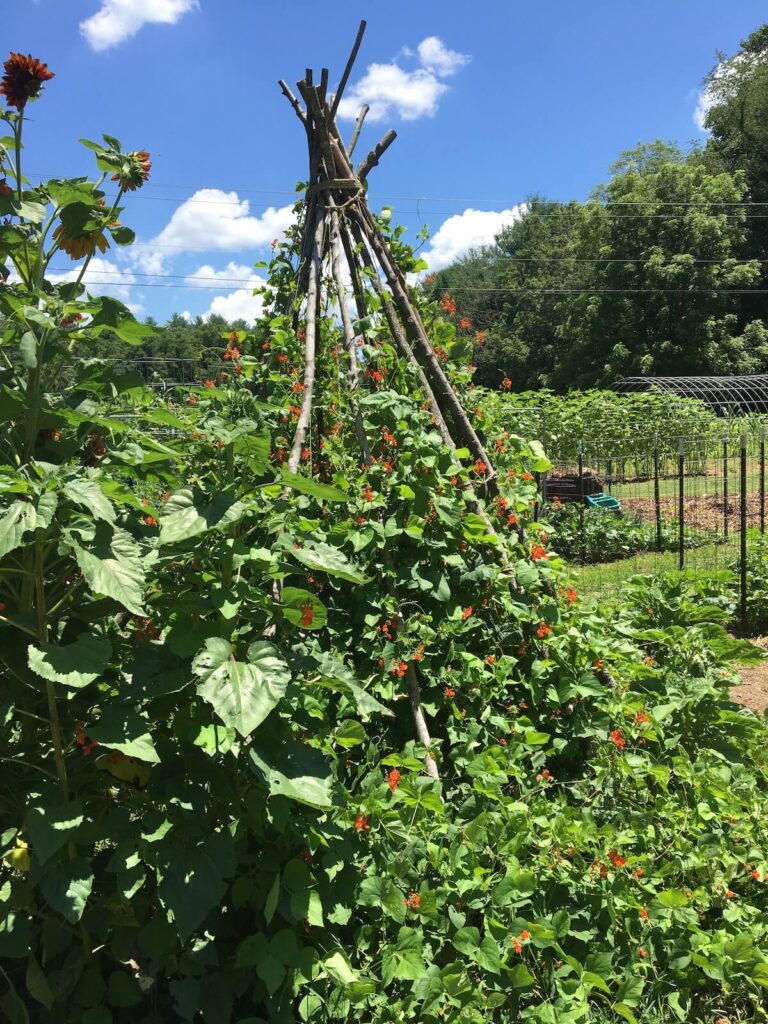
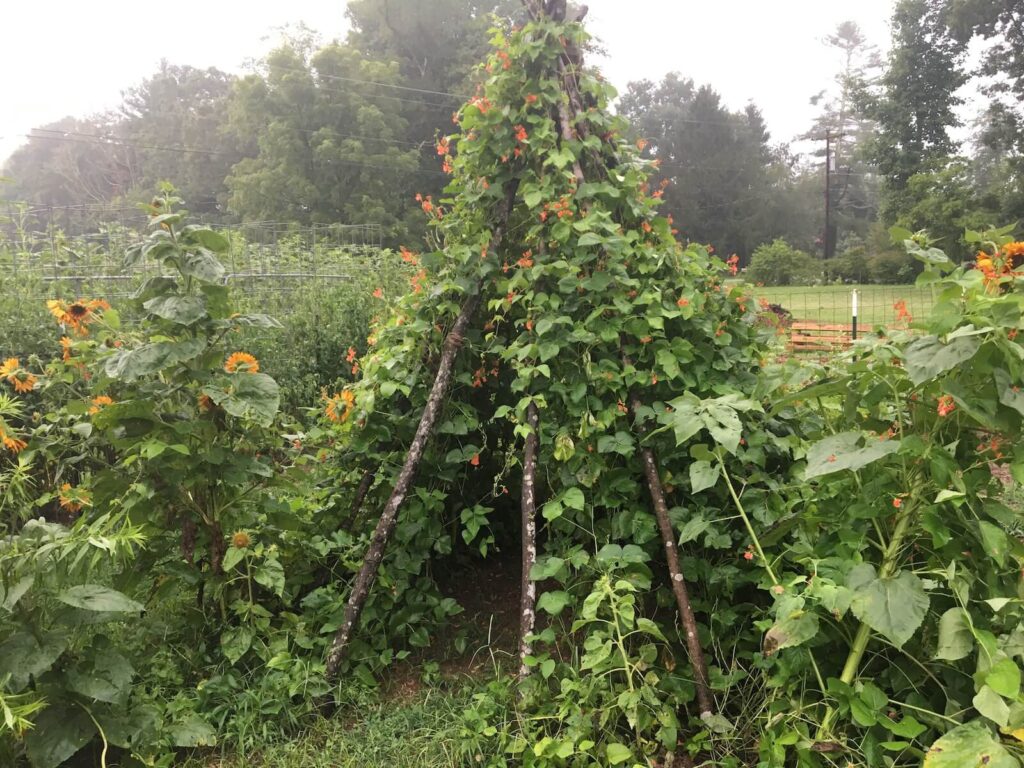
The Final Result
Here are a few photos from June and July a couple years ago. This is Tipi 2.0 as you can see the tree saplings and vertical twine. The mockingbirds love perching at the top!
What would you grow on your tipi?
I’d love to hear about it in the comments below. If you’ve done a tipi in the past, please share your tips. Do you have another trellis method you love? Let us hear about it!
I absolutely love this! I work at a summer camp and plan on building one for the kids to enjoy. Where did you find/purchase such long bamboo? We’re in Wisconsin and the longest poles I can find are 8 feet. Please let me know when you get a chance. Thanks!
Incredible post! Thank you so much for putting this together as I know it takes a lot of time. Can’t wait to make mine this week! Loved your video and how genuine you and your family are.
Hi Taylor! The camp kids will love it! We found our longer bamboo from a neighbor. The bamboo was getting invasive in their yard, and they were happy to have some of the canes cut down. You might consider using saplings (the wooden poles will last longer too), and they might be easier to find. You could try posting in gardening/plant groups for your city to see if someone might have some poles they’d donate or sell at a good price.
The other place to check is at a local lumber store – they will have more options than a box store. For example, in the southwest U.S., they sell “latillas” which work well for these tipis also. Maybe WI stores have something similar!
Thanks so much, Gabbie! We’d love to see a photo when you have yours up. 🙂