Sheet Mulching Tutorial: How to Start a Garden Without Tilling or Digging
Starting a garden from scratch can be a miserable experience, especially if the ground is hard and the area you want to use is full of grass or weeds. But how can you start a garden without tilling or digging to prepare the area? The answer is sheet mulching, and in this step-by-step tutorial, we’ll show you why it’s a great method and how to do it.
Gas-Powered Garden
Traditionally, you would start a new garden bed by pulling out the rototiller (or finding one to rent or borrow). You’d fire up the tiller and wrestle the bouncing machine back and forth over the bed. This approach to gardening takes lots of physical labor and gas-guzzling equipment.
To be transparent, we do have access to equipment—Grandpa’s tractor, rototiller, wood chipper, and big lawnmower. Sometimes, we recruit his help when the gas power will help us get something done efficiently. (And he happily jumps on his tractor or pulls out his tiller to manage the rows we affectionately call “Grandpa’s Garden.” 🙂 )
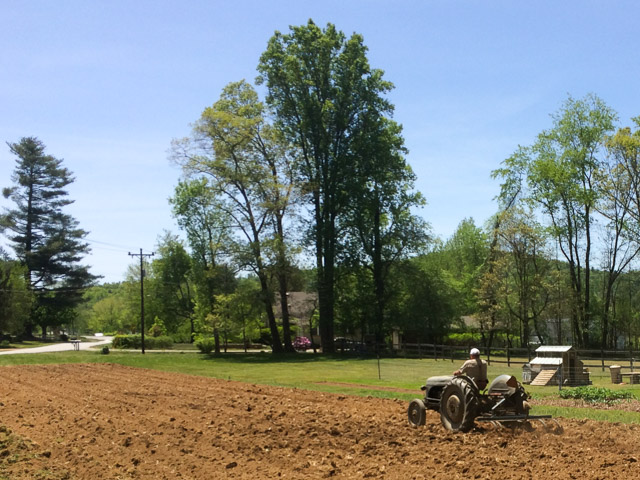
Grandpa on his tractor
But is the gas power necessary? Not at all. Often, the low-tech option is more appropriate and more sustainable.
Pick Up Your Shovel
Okay, you might be thinking, does that mean it’s time to get out the shovel and digging fork? Sure, you could dig out the grass and haul it away. Then, work your way across the bed digging and loosening the soil.
We’ve done our share of “double digging” and saw good results from John Jeavons’s biointensive growing methods.
On the downside, double digging requires a tremendous amount of physical effort (especially in a new bed) and a lot of time.
And there’s one more problem with all that tilling and digging.
Home Wreckers
Each time we turn the soil, we disrupt billions of bacteria, fungi, insects, worms, and other animals living in the first few inches of earth. The unlucky ones are sliced by the shovel or flipped to the surface where they dry out in the sun and die. Others end up in compacted areas where they die because air and water aren’t able to move through the soil.
The rest of the soil ecosystem has to find balance again. Insects and worms rebuild “homes.” Bacteria reestablish colonies. Fungi regrow mycelial networks.
As if the thought of all that digging and tilling wasn’t discouraging enough!
There’s Gotta Be a Better Way…
Good news, there is a better way to start a garden! Farmers, big and small, are using no-till methods to protect the soil ecosystem and cut down on the need for heavy equipment.
Our favorite no-till technique is sheet mulching. We use sheet mulching to prepare new garden beds, rejuvenate existing ones, and improve the soil around our perennial plantings.
No digging, tilling, or chemicals required. (Unless you count digging compost out of your bin!)
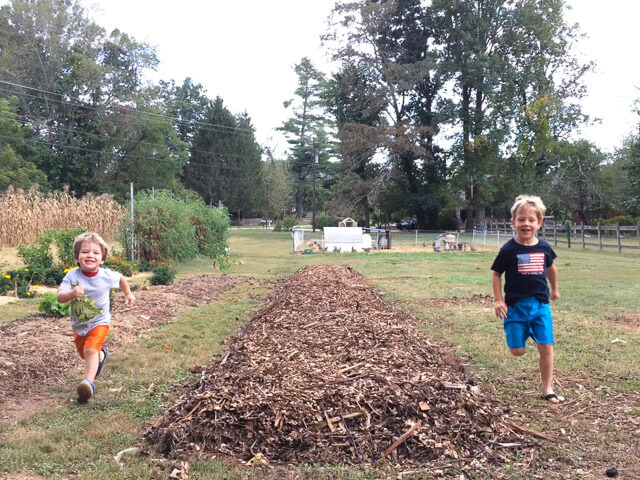
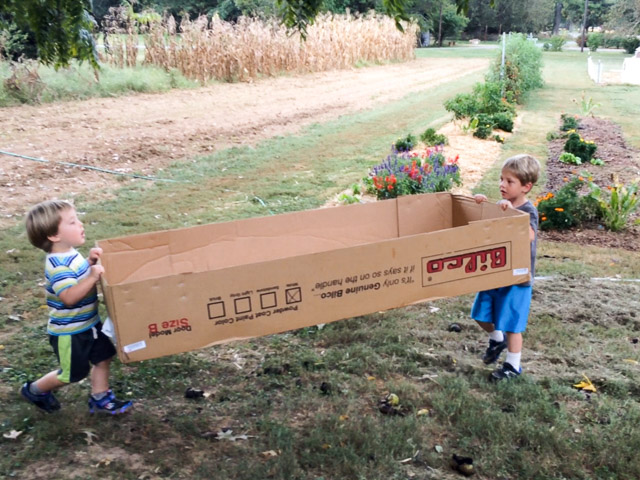
Sheet mulching is easy enough for the whole family to get involved. And the results are amazing.
Sheet Mulching 101
What It Is: A sheet mulch uses thick layers of organic material (like leaves, manure, grass clippings, and wood chips) to smother weeds and create incredibly fertile soil. Rather than digging or tilling into the surface of your soil, you layer organic materials on top of the soil, thereby composting in place. The gardening technique is often associated with permaculture and mimics nature.
AKA: sheet composting, lasagna gardening
Sheet Mulching Master: Our approach is inspired by Toby Hemenway’s Ultimate, Bomb-Proof Sheet Mulch detailed in one of our all-time favorite books Gaia’s Garden, A Guide to Home-Scale Permaculture.
Benefits of Sheet Mulching
- Requires no digging or tilling
- Can use almost any type of organic materials that you find on-site or locally
- Can be done in small or large areas, depending on quantity of materials available
- Holds lots of water and makes the beds drought resistant
- Can be done at any time of year (We like starting in fall when leaves are plentiful!)
- Leaves soil ecosystem intact
- Encourages biodiversity in the soil
- Smothers weeds and grass (and doesn’t unearth weed seeds like tilling does!)
- Reuses waste materials that might otherwise go to the landfill
- Works for any soil type (loosens heavy clay soil and adds substance to sandy soil)
Drawbacks of Sheet Mulching
- Slugs can thrive in the moist layers, so you may need to give seedlings extra protection or make time to trap/hand-pick them.
- You’re also creating soil where most plants will thrive. If you don’t plant the ones you want, the wind may plant weed seeds for you instead. Avoid the bumper crop of weeds by planting intentionally or adding more seed-free mulch on top as the layers of your bed decompose.
Let’s Dig In!
Here’s how you can start a new garden bed with sheet mulching (and without digging and tilling!):
Step 1: Gather materials and tools.
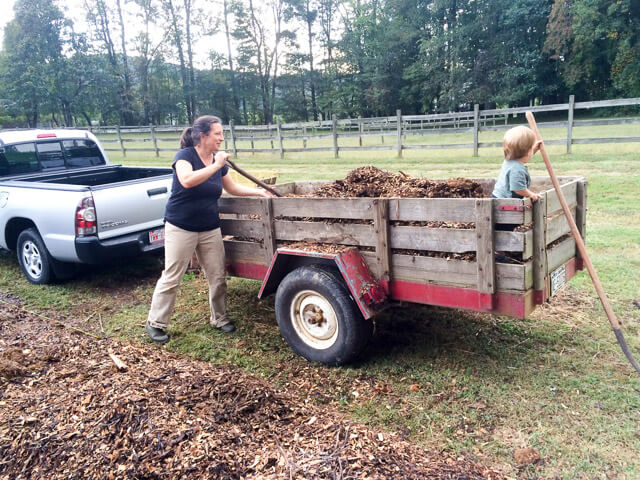
First, you’ll gather materials for your sheet mulch. Start gathering materials well in advance of your sheet mulching day. Unless you are lucky enough to have all the materials on hand, it will take a little leg work and be the most time-consuming part of the process. If you’re expecting lots of rain, store your materials under cover to keep them from getting soaked and heavy!
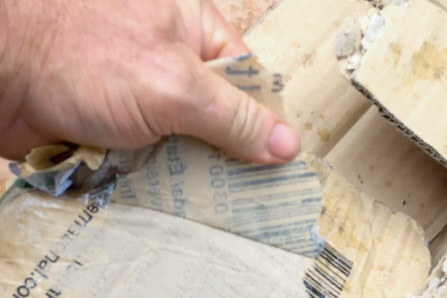
TIP: You can find free sources for most of these materials by talking with local businesses and neighbors. We get manure from a neighbor with a horse farm, wood chips from a local tree business, and large sheets of cardboard from the “big box” wholesale store nearby (“slipsheets” between layers on the pallets). Connect with farmers, landscaping companies, coffee shops, food coops, and similar businesses to see if their waste can become your sheet mulch resource.
Knowing your source also helps you be sure materials are safe. For example, be cautious about sprayed hay. Some herbicides used on pastures persists in hay and manure and compost, ultimately killing broad-leaf plants (like most veggies!) in your garden. (Read more about it.)
Don’t fret if you can’t get all the materials listed. Sheet mulching is very forgiving. A simple version with two layers—cardboard and eight inches of leaves—will get you started building soil. It’s a process not a product, and you can always add more organic material as it becomes available. Just get started!
Sheet mulching can use lots of material fast. To give you an idea of how much you’ll need, I’ll include an estimate below for how much we used for a 50 square-foot area.
MATERIALS
- Weed Barrier. (2-3 furniture boxes)
Newspaper (no glossy sections) or cardboard (minus staples and plastic tape) are the obvious choices. Fabric remnants, old blankets, clothes, or wool carpet made from natural fibers will work, too. - Soil Amendments. (Amount and type will depend on your soil. If you’re not sure what you need, do a soil test first.)
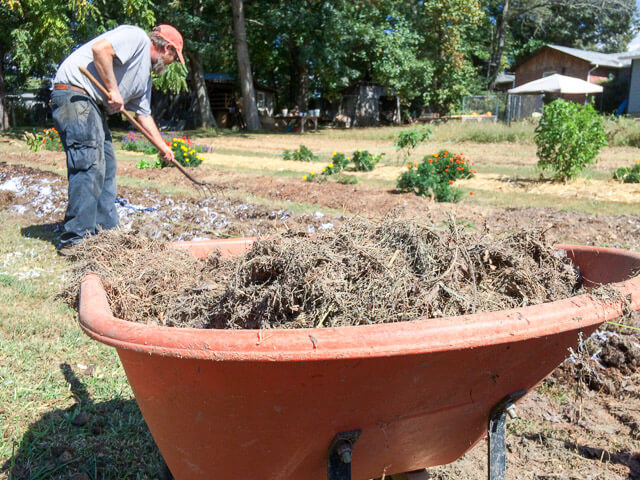
Possibilities include lime, bone meal, rock dust, blood meal, kelp, green sand, gypsum, biochar, and more. - Nitrogen-rich Material. (3-4 wheelbarrows)
Manure, fresh grass clippings, chopped weeds, coffee grounds, kitchen scraps, seaweed, and other “green” materials. You’ll divide this material into three parts; two parts are individual layers and one part gets mixed into your bulk layer. - Carbon-rich Material. (6-10 wheelbarrows, depending on how fluffy the material is!)
Leaves, straw, spoiled hay, yard waste, animal bedding, shredded corn stalks, ground bark, wood shavings, shredded paper. You’ll combine this material with some nitrogen-rich material to create your thickest layer. - Compost or topsoil. (1-2 wheelbarrows)
You can use finished compost from your own bin or purchase it from a garden supply store. If you go with soil, choose one that is not all clay or all sand. - Seed-free Material. (2-3 wheelbarrows)
Leaves, straw (not hay), wood chips or bark, pine needles, grain hulls and nut husks are all good choices.
TOOLS
- Box cutter or knife for cutting cardboard
- Screwdriver and needle-nose pliers for removing staples and tape in cardboard
- Wheelbarrow, wagon, or large tubs for moving material
- Pitchfork
- Garden rake
- Shovel for compost
- Water hose
- Nozzle with “shower” setting
- Stakes, string, and hammer for marking bed (optional)
- Gloves (optional)
Step 2: Prepare the area.
Next, you’ll select and prepare your site:
- Mow or chop down any grass or weeds to clear the area. No need to remove the debris. It will be part of the first layer.
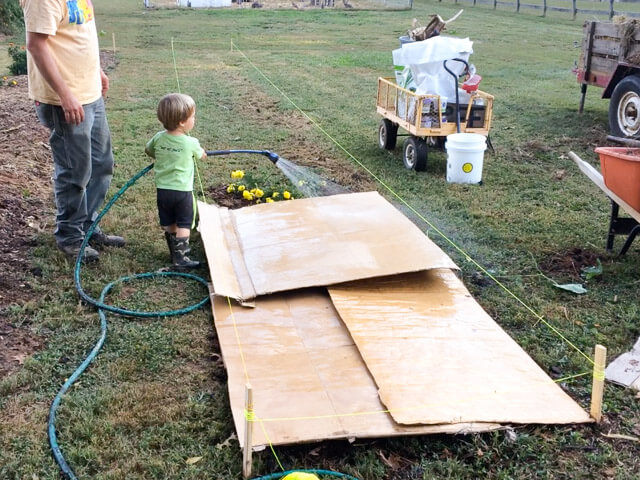
- Water the area well before you start adding layers. We haven’t had much rain lately, so we set up the sprinkler for a couple of hours the night before we mulched.
- Have your hose and spray nozzle ready to water each layer. You want to end up with a sheet mulch that’s wet but not waterlogged, like a wrung-out sponge.
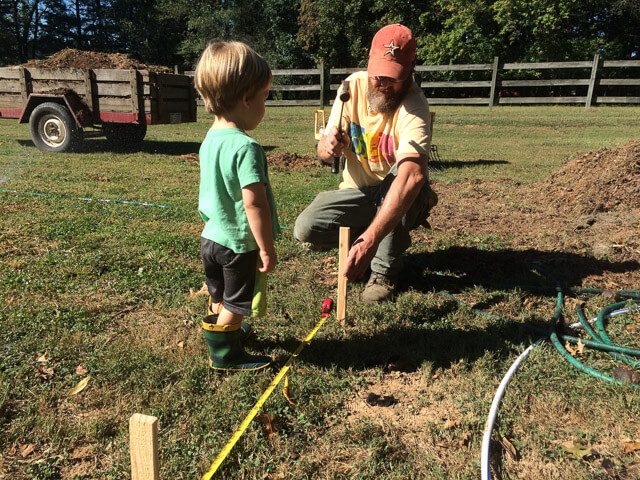
- Define the space. We wanted a bed parallel to our existing garden beds, so we used stake and strings to keep it straight. You could also use a hose or rope to outline the area on the ground.
- Optional – If the area is especially compacted, use a digging fork to loosen the soil a little and give the worms a head start. No need to turn the soil. You’re simply trying to poke some holes to help water and air penetrate.
Step 3: Sprinkle on amendments.

A soil test gives you a snapshot of your soil’s nutrient levels. You’ll understand any deficiencies and be able to choose amendments that will benefit your soil.
Since our soil is acidic, we added lime and biochar. We also added egg shells for calcium, Azomite for trace minerals, and blood meal for a nitrogen boost to get decomposition going quickly.
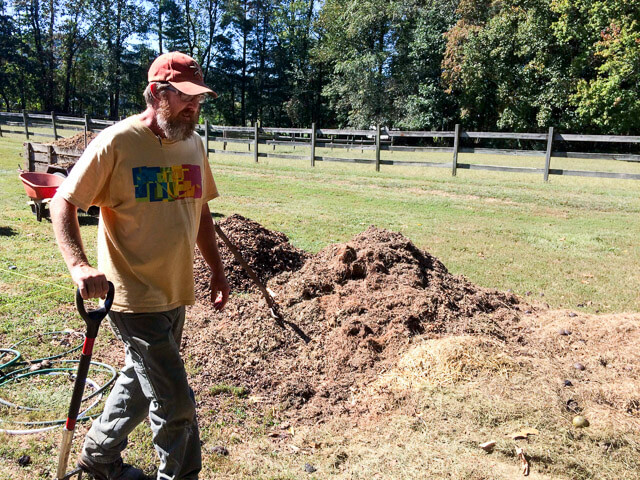
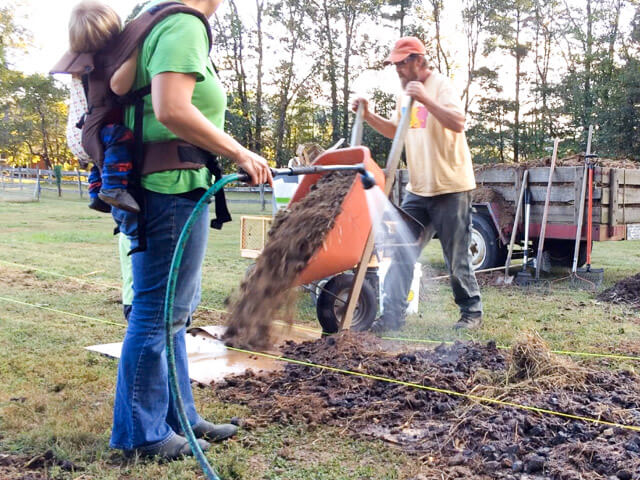
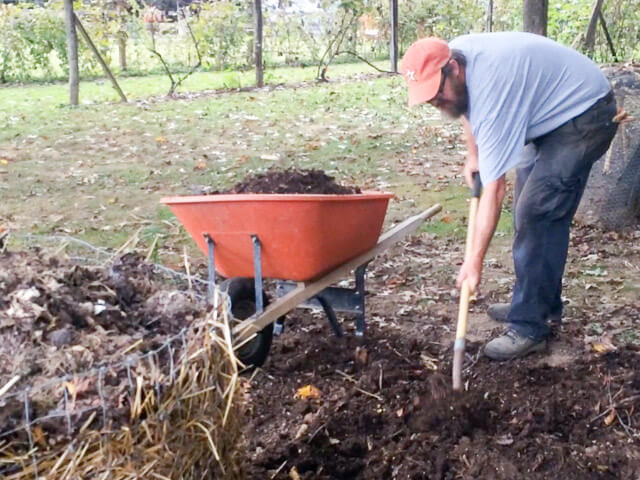
Step 4: Add 1-2 inches of nitrogen-rich material.
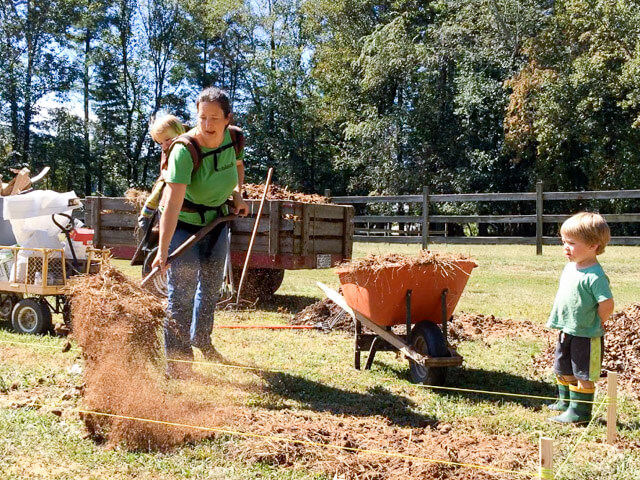
This layer gets soil microbes and worms active right away. The grass and weeds you’ve chopped down are part of it. We also used horse manure. Any nitrogen-rich composting material (see list above) will work.
Water thoroughly.
Step 5: Cover with your weed barrier.
We used cardboard here. Be sure to overlap the edges by at least six inches to discourage running weeds (like bindweed and Bermuda grass) from finding their way through the cracks.
If you’re doing a large area, start in a small area and work backwards. As a result, you won’t have to worry about walking over the wet cardboard and mulch, running out of material before you cover your targeted area, or the wind blowing this layer away.
If using newspaper, it should be laid down several layers thick (at least 1/8 inch).
Water thoroughly.
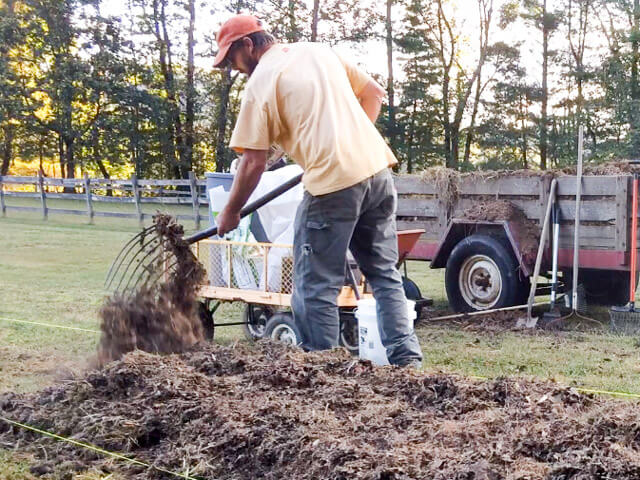
Step 6: Add another 1-2 inches of nitrogen-rich materials on top.
This is your second layer of nitrogen-rich material. It will heat up your sheet mulch and fuel the microbes that will be break down the cardboard below and the bulky layer above.
Water thoroughly.
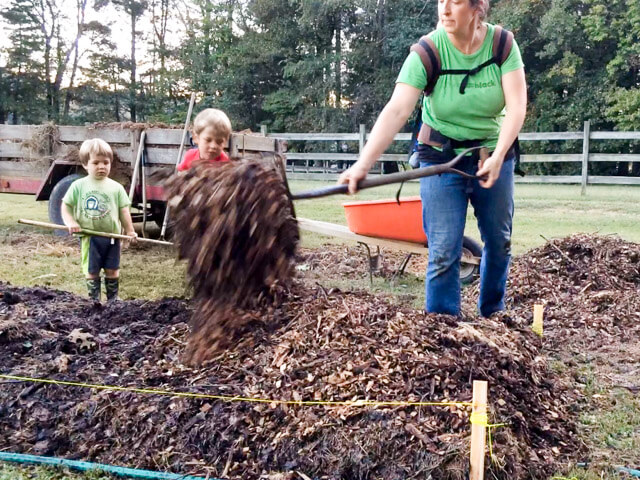
Step 7: Layer on about 8 inches of carbon-rich materials with 1-2 inches of nitrogen-rich mixed in.
This is your bulk layer. It is mostly carbon-rich material. In fact, you can use only carbon-rich material here if that’s what you have.
However, you’ll get faster results when you mix in 1-2 inches of nitrogen-rich materials. For example, if you use lots of shredded paper or wood shavings, add nitrogen-rich grass clippings or manure to help with decomposition.
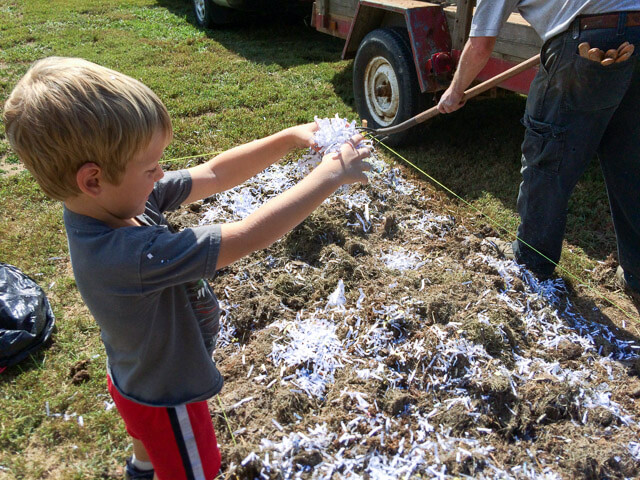
Spreading shredded paper in the bulk layer.
Adding grass clippings to the shredded paper in the bulk layer.
This 8-10 inch layer may seem huge, but remember, it will settle over the next few weeks.
And next, you guessed it… water thoroughly. 🙂
Step 8: Add 1-2 inches of compost or top soil.
No need to sift this compost. It can go straight from the bin to the bed!
This is a dual-purpose layer. First, the compost or soil “seeds” your sheet mulch with bacteria and fungi. Second, this layer provides a place to plant if you want to put in seeds or starts right away. If you’re going to plant now, aim for a full two inches here.
Water thoroughly.
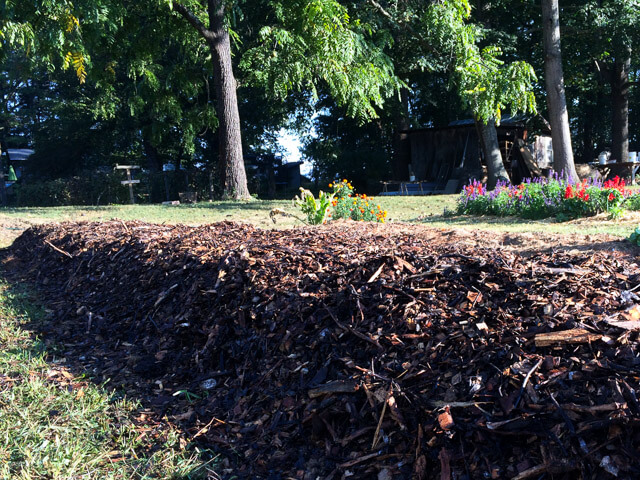
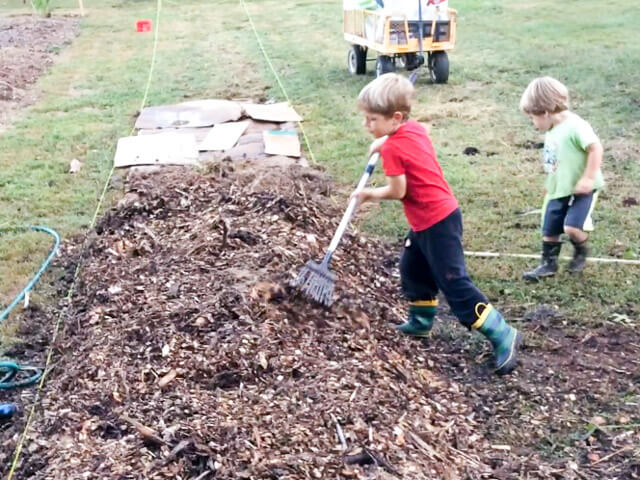
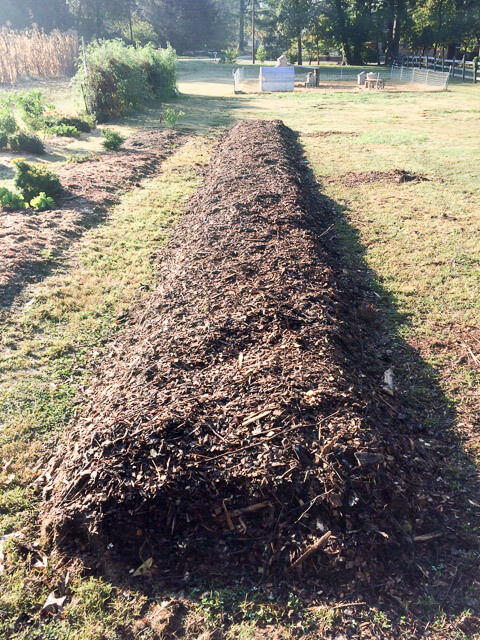
Step 9: Finish with 2-3 inches of seed-free material.
Any seeds in this top layer will germinate and thrive, so you’ll cover the entire pile with a seed-free mulch. (Seeds deeper in your sheet mulch will most likely rot.) This layer gives your sheet mulch a finished look.
We shaped this top layer like a shallow trench to collect rain water that falls. If we start getting more rain, we’ll mound it up to let rain water run off the sides.
Last but not least, water thoroughly.
What’s Next?
We usually make sheet mulches in fall and wait until spring to plant. Most of the material will decompose by spring, leaving rich soil that’s been tilled by worms.
Simply pull back the top layer of mulch. Create a trench for a row of seeds, or make bowls for seedlings. As the plants grow, you can move the mulch back around them, but don’t pile it up on the plants. Leave room for air to move around the stems. (Moist stems without air flow are more susceptible to pests, rot, and disease.)
If you want to plant right away, you can use the same approach of pulling back the mulch to plant.
Alternately, you could plant into the compost/soil layer before adding a thin seed-free layer on top. After your seeds sprout or your seedlings get going, weed out undesirables that have popped up and add a couple inches of seed-free mulch.
A “Get it Done” on Saturday Schedule:
Here’s an overview of the steps and how the timeline might work for a weekend project.
During the week:
- Step 1: Gather your materials and tools.*
Friday evening:
- Step 1, continued: Bring all the materials to the site.*
- Step 2: Prepare the area.
- Mow or Slash Vegetation
- Water Thoroughly
- Define Space*
- Fork
Saturday:
- Step 3: Sprinkle on amendments.*
- Water after each of the following steps.
- Step 4: Add 1-2 inches of nitrogen-rich material.
- Step 5: Cover with cardboard or other weed barrier.*
- Step 6: Add another 1-2 inches of nitrogen-rich materials on top.
- Step 7: Layer on about 8 inches of carbon-rich materials with 1-2 inches of nitrogen-rich mixed in.*
- Step 8: Add 1-2 inches of compost or top soil.
- Step 9: Finish with 2-3 inches of seed-free material.*
We made a big 200 square foot bed, and it actually took us the whole weekend (minus naps, meals and some playing!)
We did the first 50 square feet on Saturday, and then repeated steps 3-9 on Sunday afternoon to do 150 more square feet.
*Stars indicate steps where our kids helped. They played nearby the rest of the time.
Finishing Touches
You can keep your sheet-mulched bed in tip-top shape by doing a little maintenance:
- Check the moisture level regularly, and water when it starts to dry out. The sheet mulch will retain water for a long time, but depending on rainfall where you live, you may still need to water it occasionally. A soaker hose is a great way to give it a slow, deep watering.
- Continue adding seed-free material to the top each season. It will discourage weeds and replenish nutrients used by plants grown in the bed.
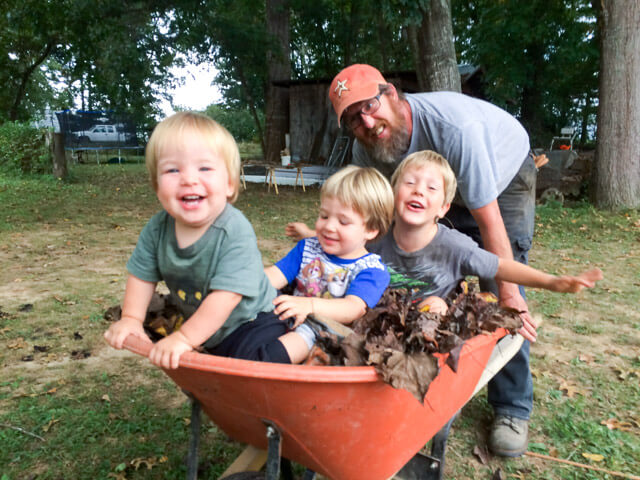
Extra leaves & kids to go on top!
Mulch Your Way to a Garden
Sheet mulching is a simple technique that lets you use waste material to create healthy soil right where you want to garden. It takes a lot of the physical work out of starting a garden, and you don’t need a tiller or tractor either. The healthy soil created by sheet mulching is great for plants and for gardeners.
Could sheet mulching help you start a garden? Tell us what you’re going to grow in the comments below!
And if you’ve done sheet mulching before, will you tell us about your experiences?
I love this step-by-step instructional! (Also, I love know which parts your kids were able to help out with! 🙂 Good for planning.) I have been working on collecting all the materials for prepping my no-till garden beds before the snow falls, but everywhere I had read about it, it was assumed that you would be planting on it immediately. It’s helpful to know that you do the same thing to prepare the bed the fall before the spring planting. Do you get snow where you live? I’m wondering how all the melting snow will affect the beds come spring — will they get too soggy?
Thanks, Jennifer! Our kids were great helpers for some steps and they did great playing nearby for others. We had extra cardboard boxes that kept them entertained for quite awhile! 🙂
We get some snow, but it usually melts within a week or two. So, I don’t have experience with a big spring snow melt.
If it were me, I’d probably give it a try with this in mind:
*If your soil is usually able to handle the melting snow without getting soggy, a sheet mulch should be fine. The water will just drain through after the mulch is saturated.
*But if you’re creating one in an area with a drainage problem, a sheet mulch could do more fermenting than composting. It will still breakdown eventually, but it could be stinky!?