How to Build a T-Trellis for Raspberries and Blackberries (Step-by-Step Guide)
Want to grow more raspberries or blackberries in your yard? A sturdy trellis will help keep your berry patch healthy, productive, and easy to harvest. In this post, we’ll show you how to build a T-trellis. You’ll be ready to plan your layout, gather supplies, and build a strong, effective trellis that helps your berry plants thrive.
Ready to Build Your Own?
Grab the free T-Trellis Workbook and take the guesswork out of planning your support system for raspberries and blackberries.

1. Choose the Right Location
Most cane berries will thrive with these conditions:
- 6+ hours of sun – With more sun, you’ll generally get more berries. In a hot, dry climate, consider a spot with some afternoon shade.
- Fertile, well-draining soil
- Access to water – If you have a dry spell while fruit is developing, you may want to irrigate so the plants have plenty of water.
- Spacing of 3-4 feet between plants and 6-8 feet between rows for good airflow and access to pick
2. Plan Your Layout
Start with your constraints:
- What area do you have to work with?
- What variety of berries do you want to grow?
- What is the recommended spacing for that variety?
You can orient your trellis to take advantage of the sun.
- North-to-south orientation allows sunlight to reach both sides and minimizes shade.
- East-to-west orientation will create shade on one side where you could grow plants that are sensitive to heat. In the northern hemisphere, the north side will be shady.
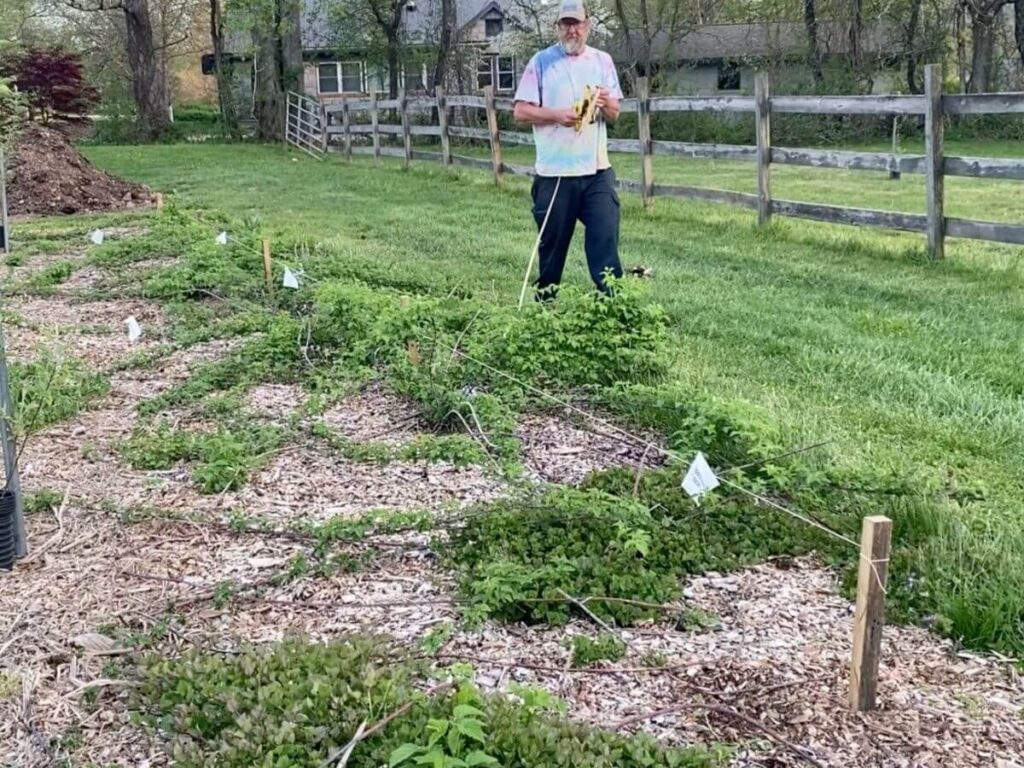
You could plan your layout at full scale outside using a tape measure and placeholders, like flags, stakes, or buckets.
Or sketch it out on paper first.
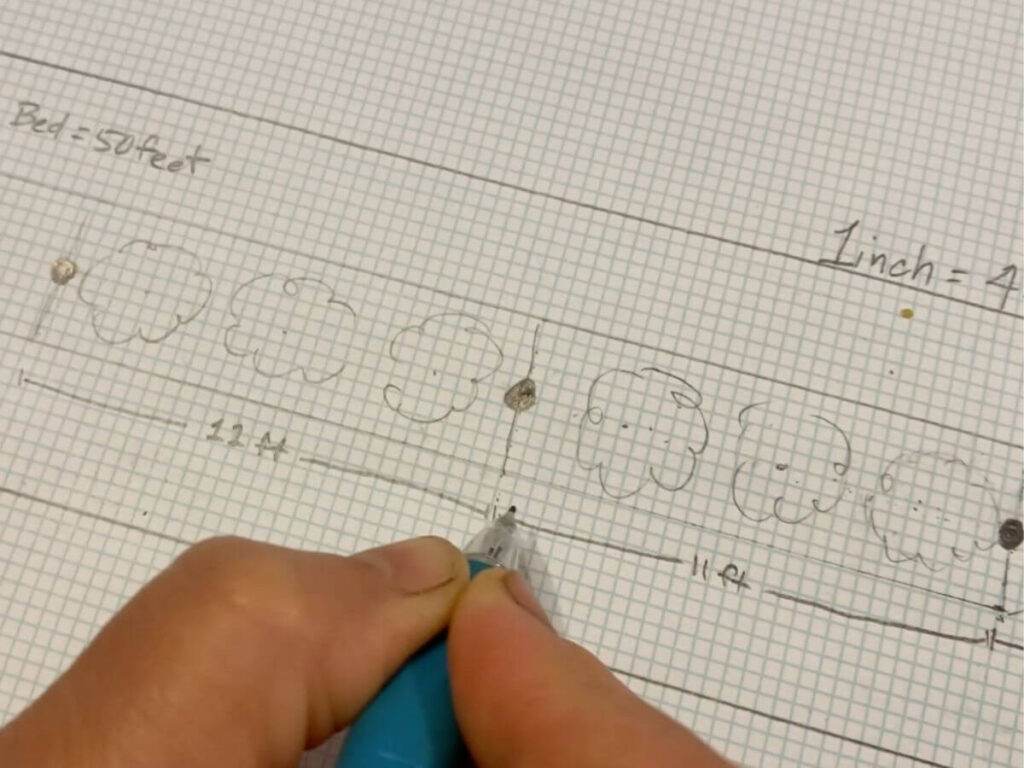
Once you have your layout planned, you can figure out the materials you need.
3. Gather Supplies and Tools
Materials for a 50-foot trellis and 11 feet between posts
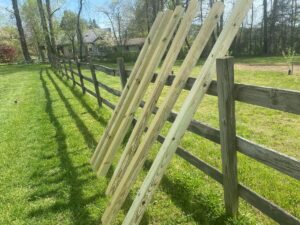
- 5 – 4-in x 4-in x 8-ft pressure-treated ground contact posts
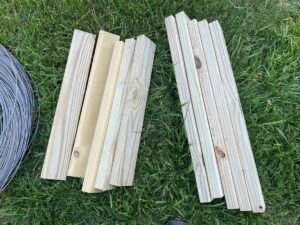
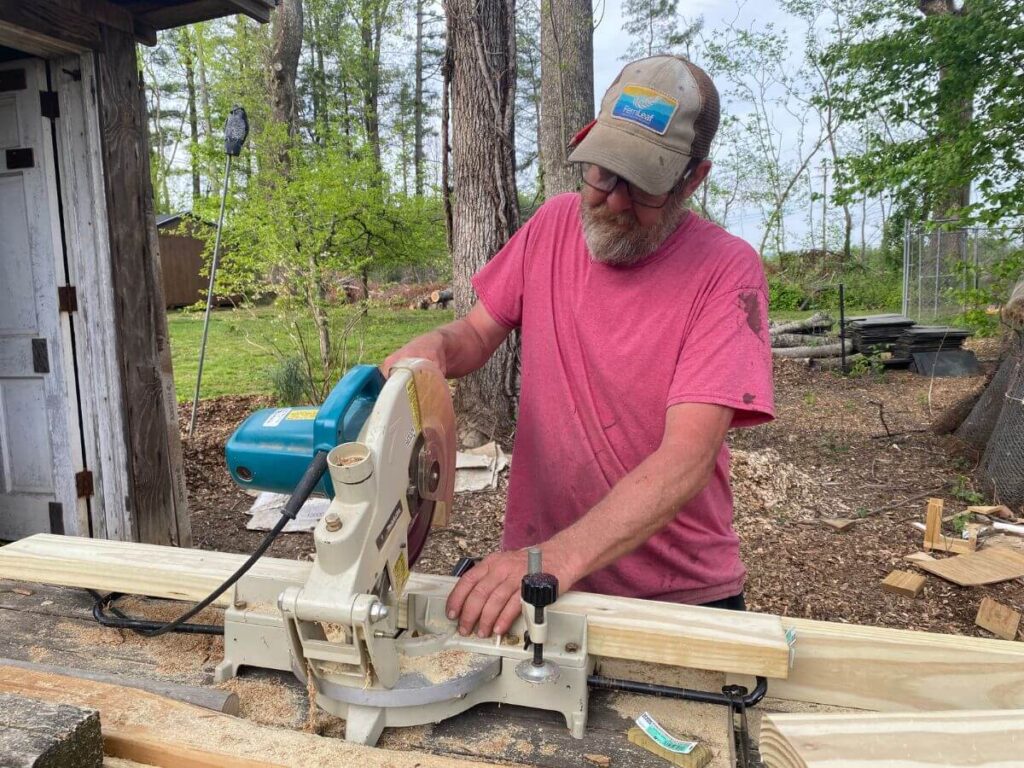
- 3 – 2-in x 4-in x 8-ft pressure-treated boards cut to:
- 5 – 24-in bottom crossarms
- 5 – 30-in top crossarms
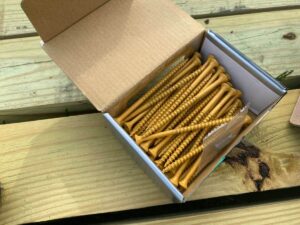
- 1-lb box of #10 3½-inch T25 tan exterior wood screws (be sure it includes a T25 bit)
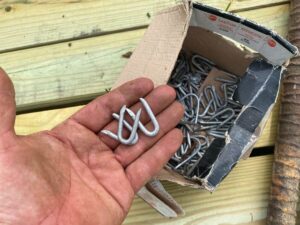
- 1-lb box of 1-1/4-inch, 9-gauge galvanized fence staples
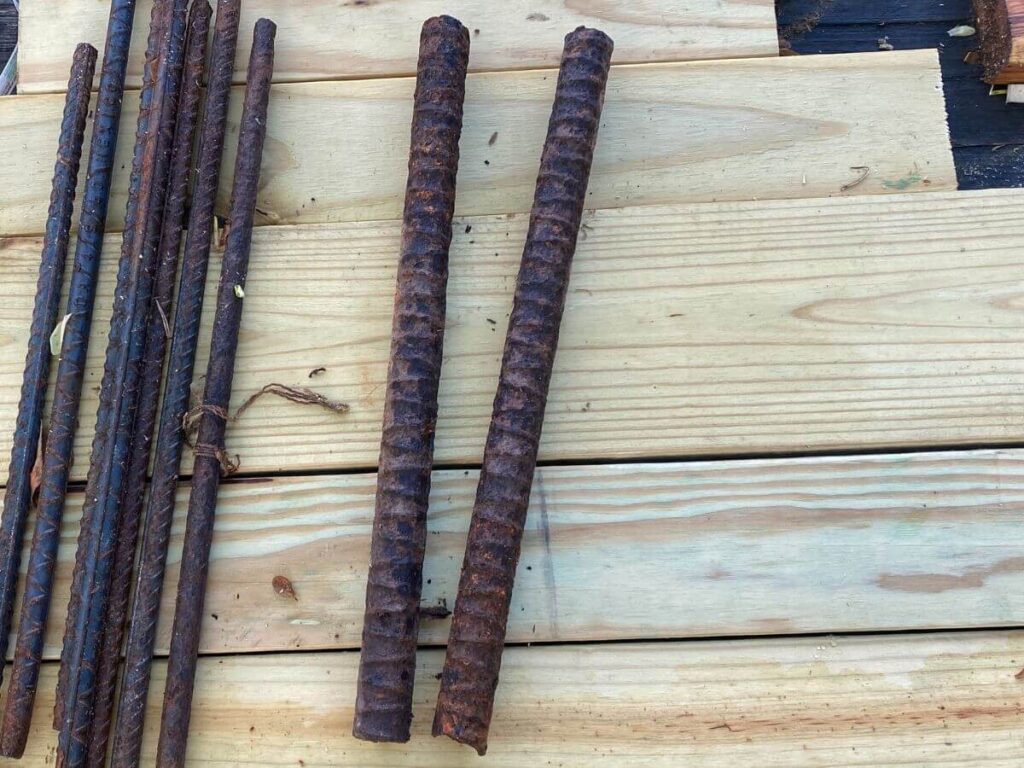
- 2 – 1-in x 12-in rebar stakes
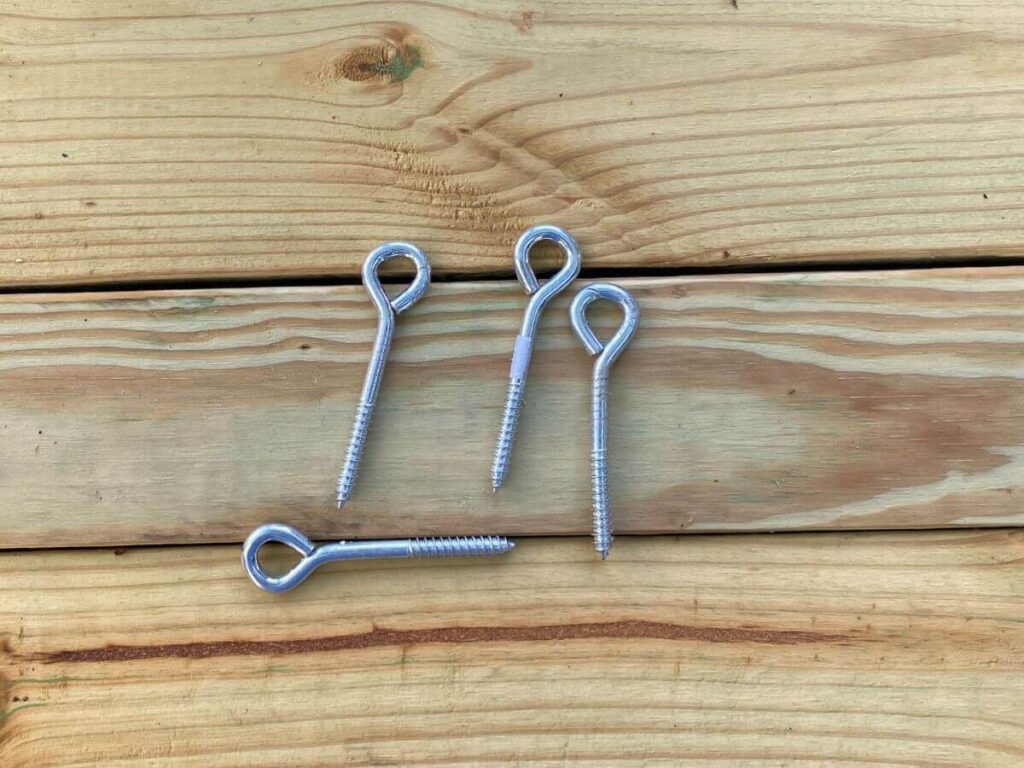
- 6 – 2-in eye hooks (optional)
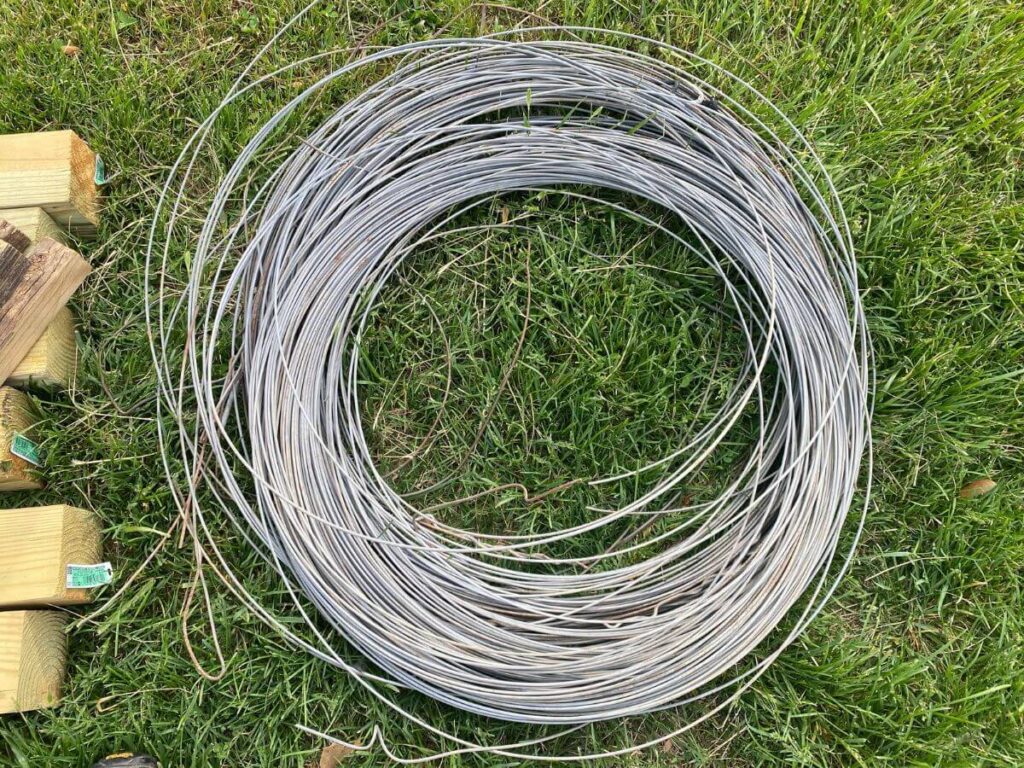
- 250+ feet of 12-gauge galvanized wire
- 8+ black raspberry plants (or your variety of choice!)

Tools:
- Masonry string & wooden stakes
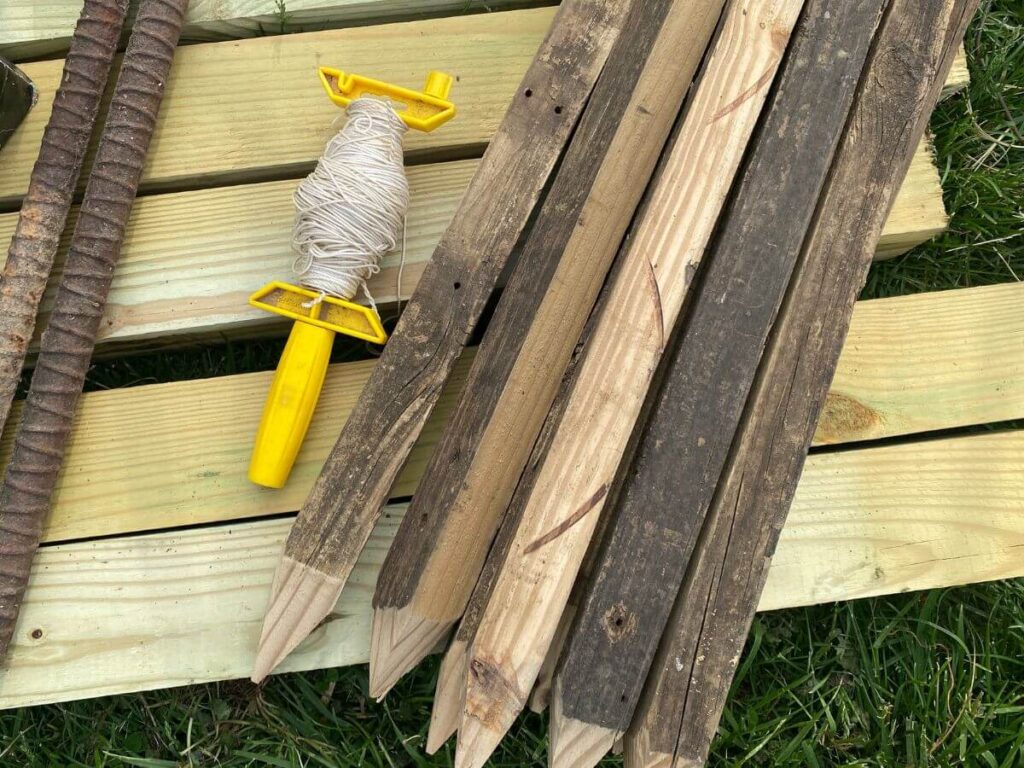
- Tape measure & pencil

- Saw
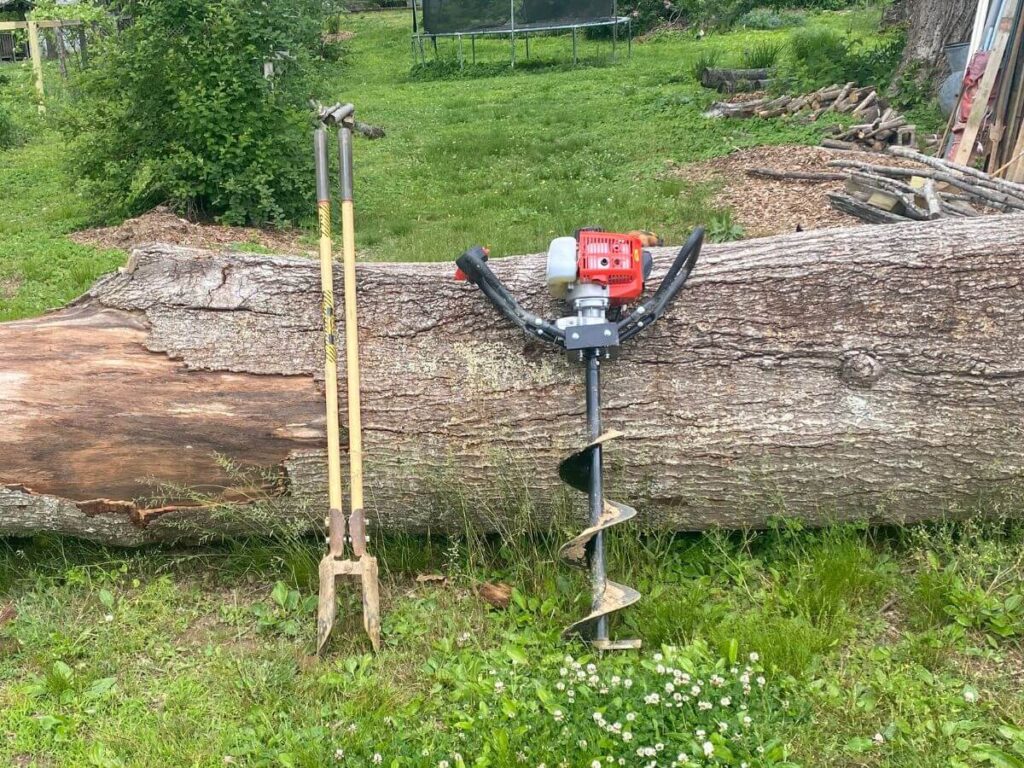
- Post hole diggers or gas-powered auger
- Level

- Tamping stick (We use a broomstick with a homemade handle.)

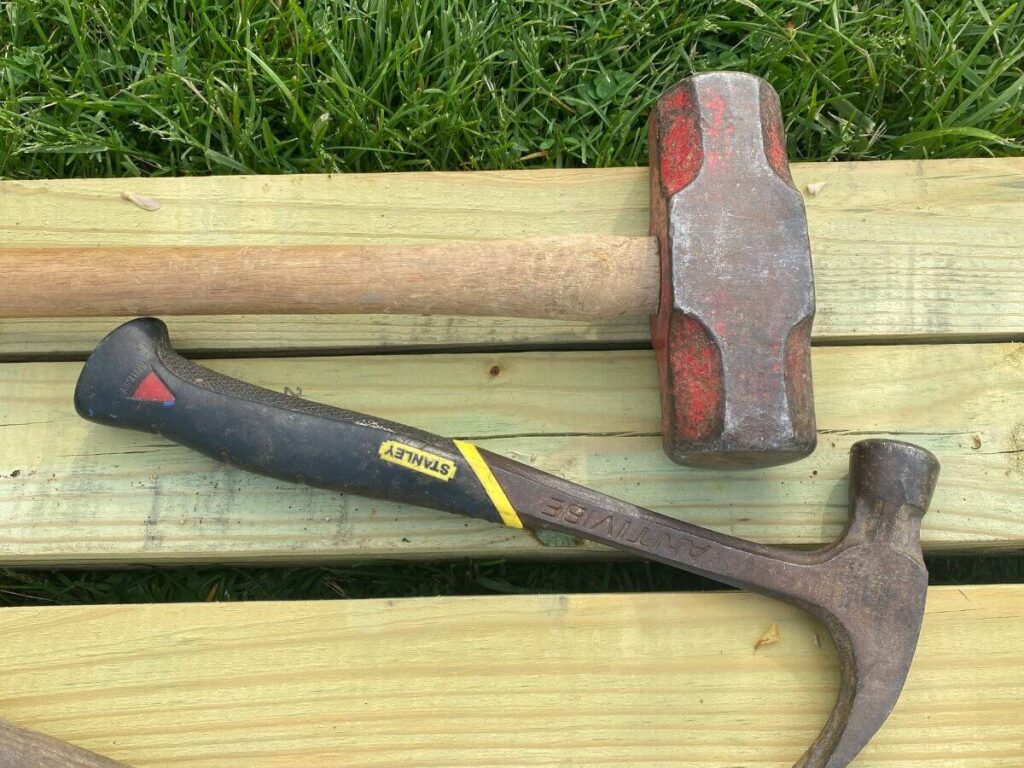
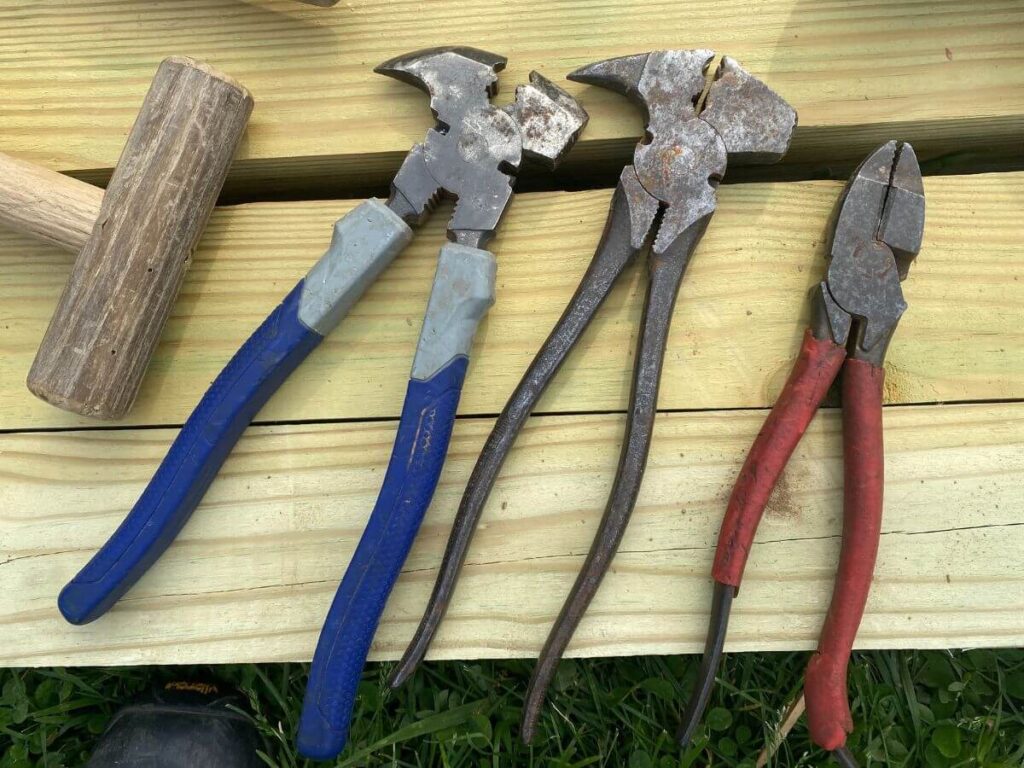
- Sledgehammer
- Hammer
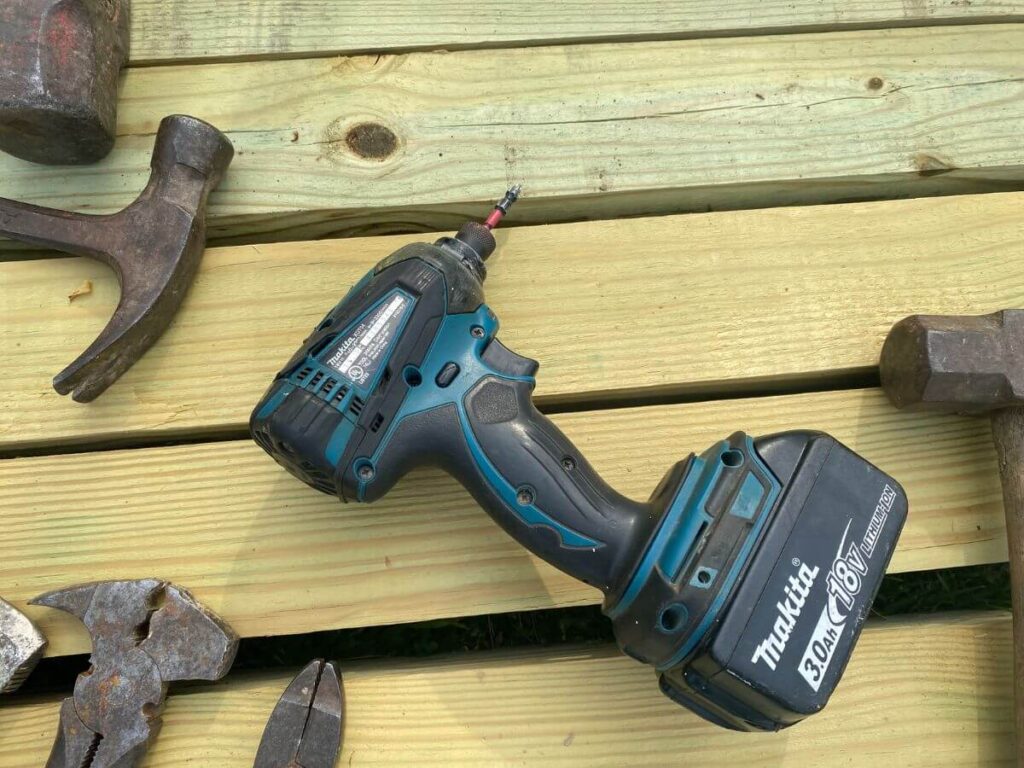
- Cordless drill
- Screwdriver
- Quick clamp (optional)

- Fence pliers
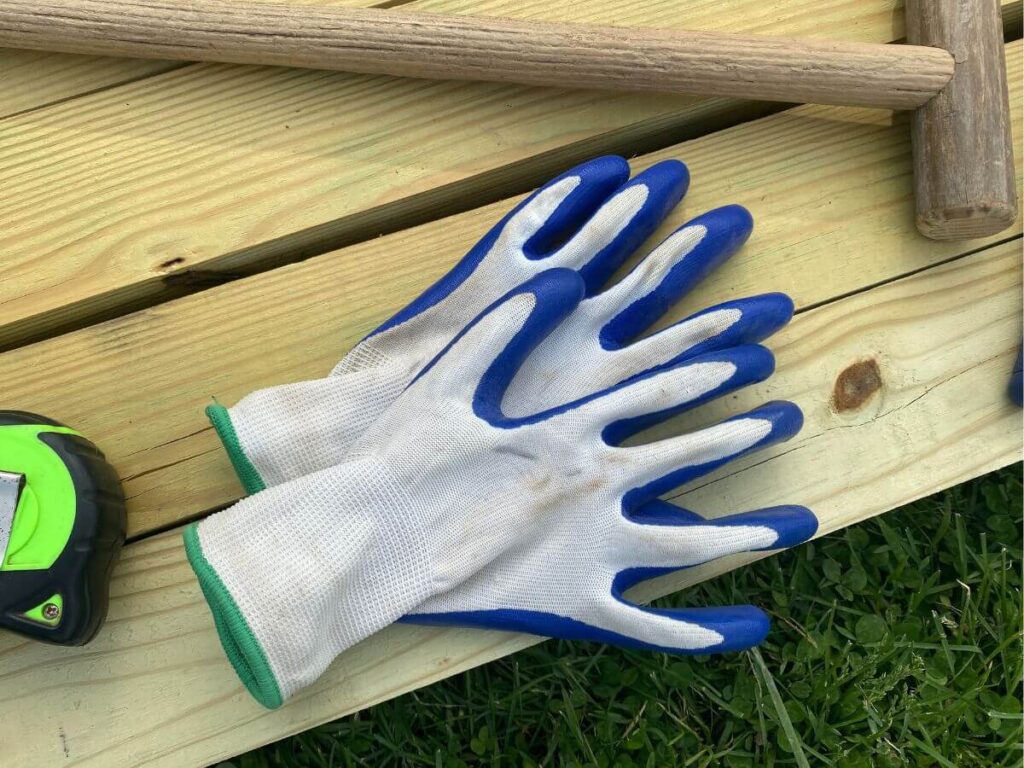
- Gloves (optional)
If you don’t have these tools on hand, you may be able to borrow or rent them from a tool library, hardware store, or neighbor! The printable workbook includes a checklist of materials and tools, along with a guide to calculate a different length of trellis.
Ready to Build Your Own?
Grab the free T-Trellis Workbook and take the guesswork out of planning your support system for raspberries and blackberries.
4. Mark and Measure
If you haven’t already, mark the exact location of each post using a stake or flag.
Use a measuring tape to get consistent spacing and a string between the two ends to get a straight row. Measure twice, dig once!
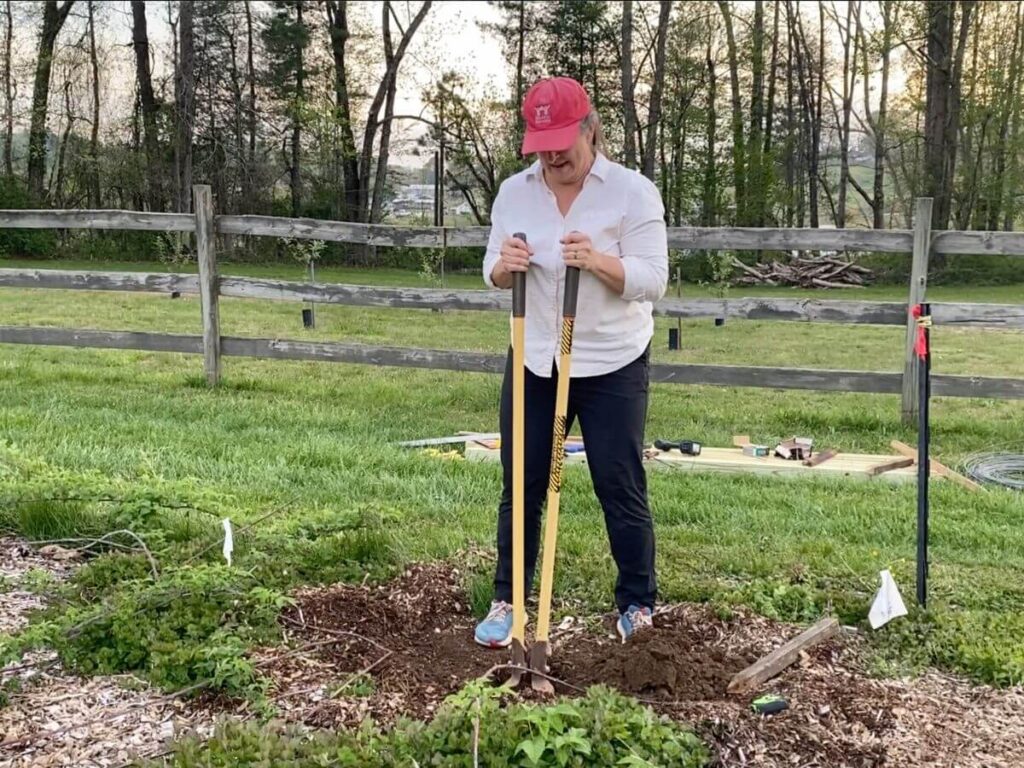
5. Dig Holes
Get out the post hole diggers or power up the auger to make a hole for each post. The size of your hole depends on a few factors:
- Depth of your frost line – go at least 6 inches below to avoid frost heave
- Height of your poles – bury 1/3 of the pole (or more) for stability
- Soil type
- In clay soils, you can make your holes about 8-inches across.
- In sandier soils, you may want to set posts in concrete, which requires a hole 3x the diameter (or width) of your pole.
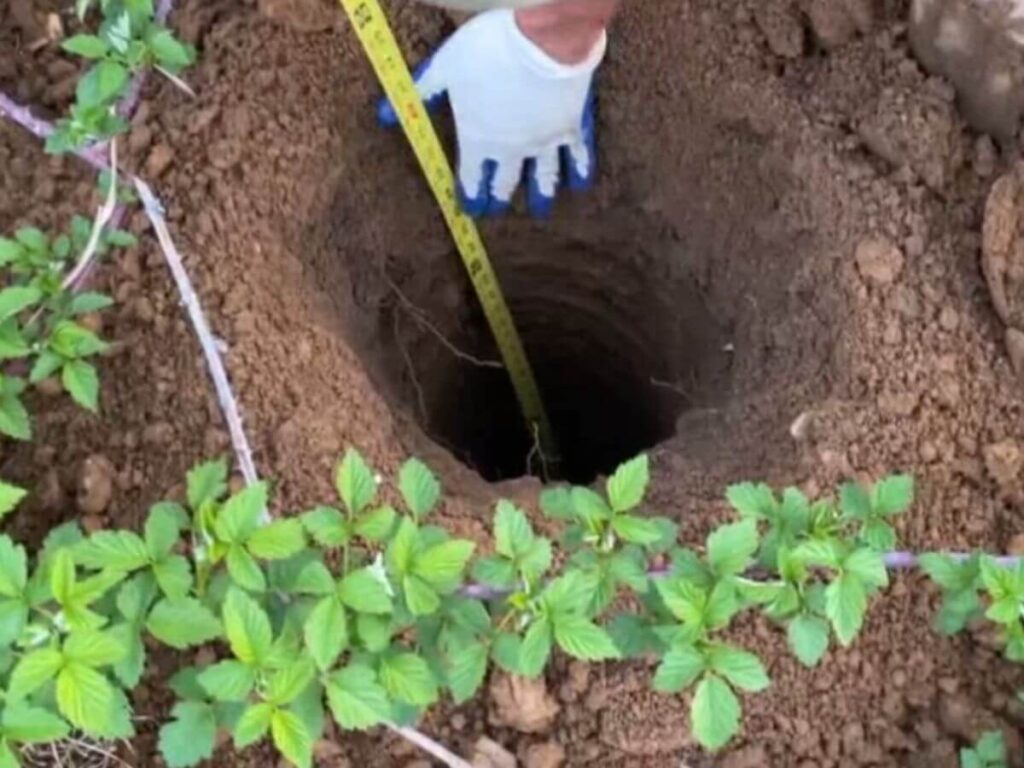
In this design, most of the weight will rest on the top cross-arms, which are 5 ft (60 inches) above the ground. We have a frost depth of 12 inches and clay soil. So we dug holes 8 inches across and 30 inches deep.
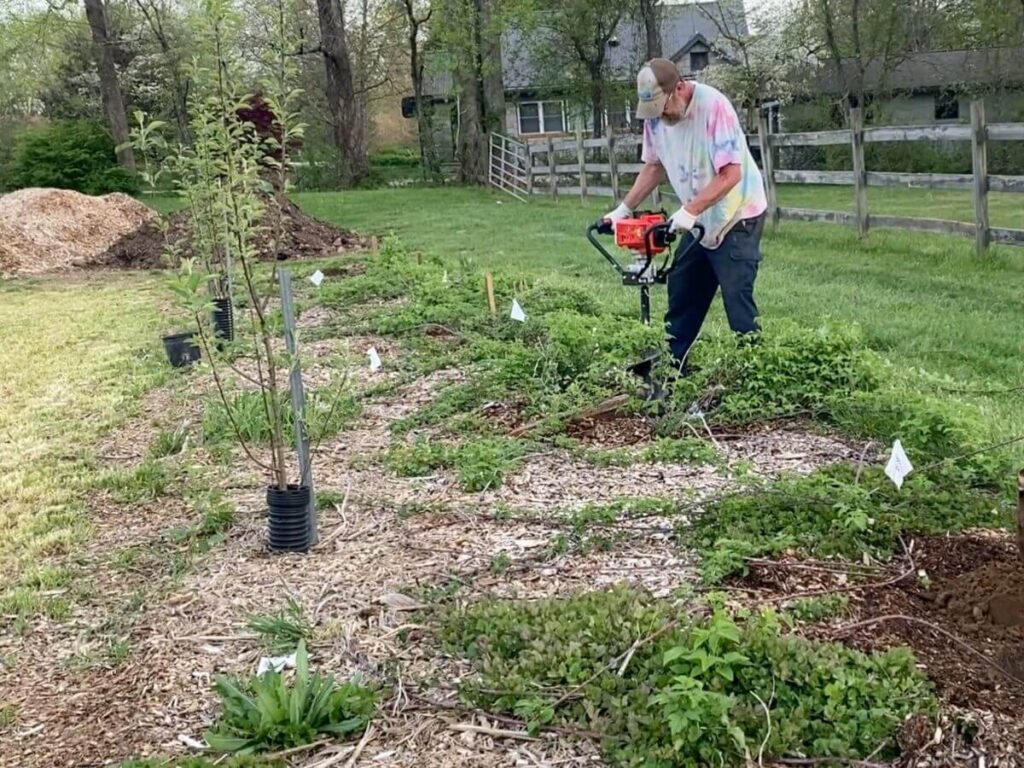
Consider renting or borrowing a gas-powered auger if you’re digging more than three or four holes. Perhaps you can partner up with neighbors for a hole-digging day!
In sandy soil, you may want to set the posts in concrete. Here, you’ll dig your holes 12 inches wide or about three times the size of your post. (Augers are also available with 12-inch blades.)
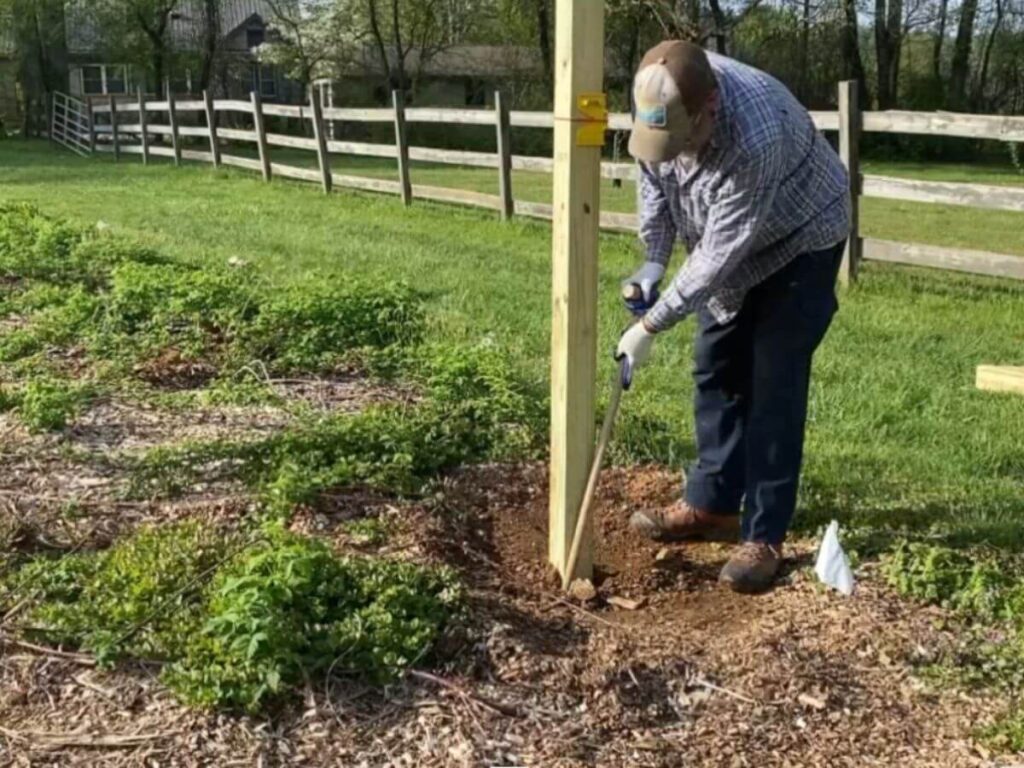
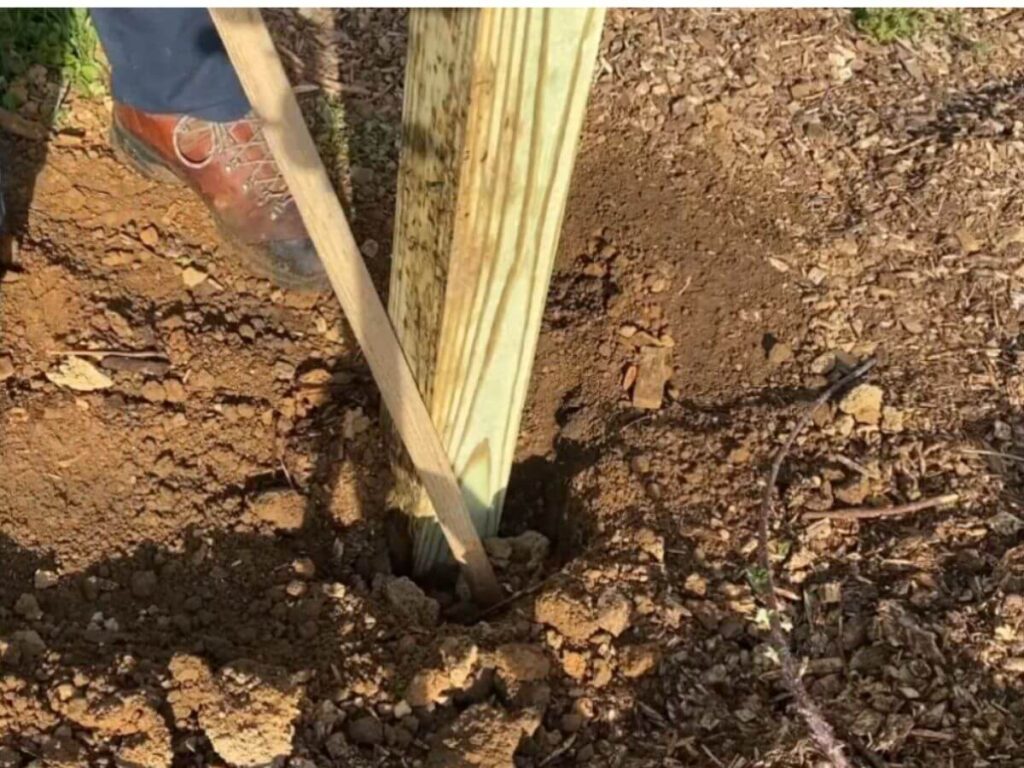
6. Set the Posts
Start with an end post. Backfill the hole gradually, tamping the soil firmly as you go. Use a level to be sure the post is plumb (straight up and down).

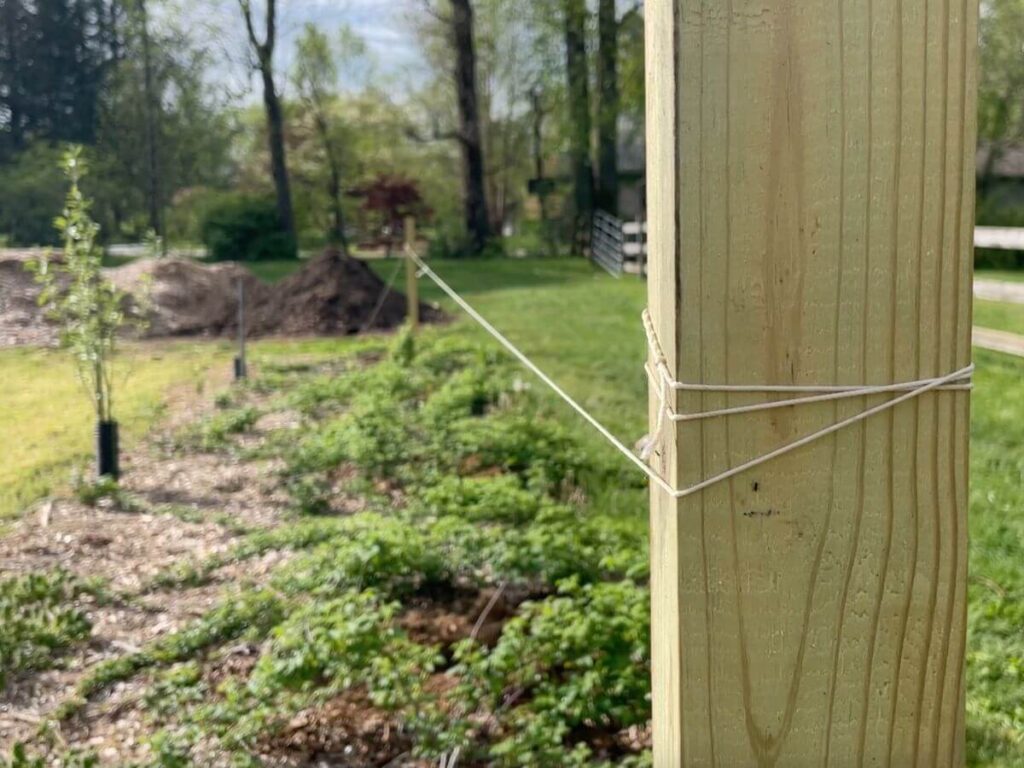
Set the second end post.
Run a string between the ends to line up the remaining posts as you set them.
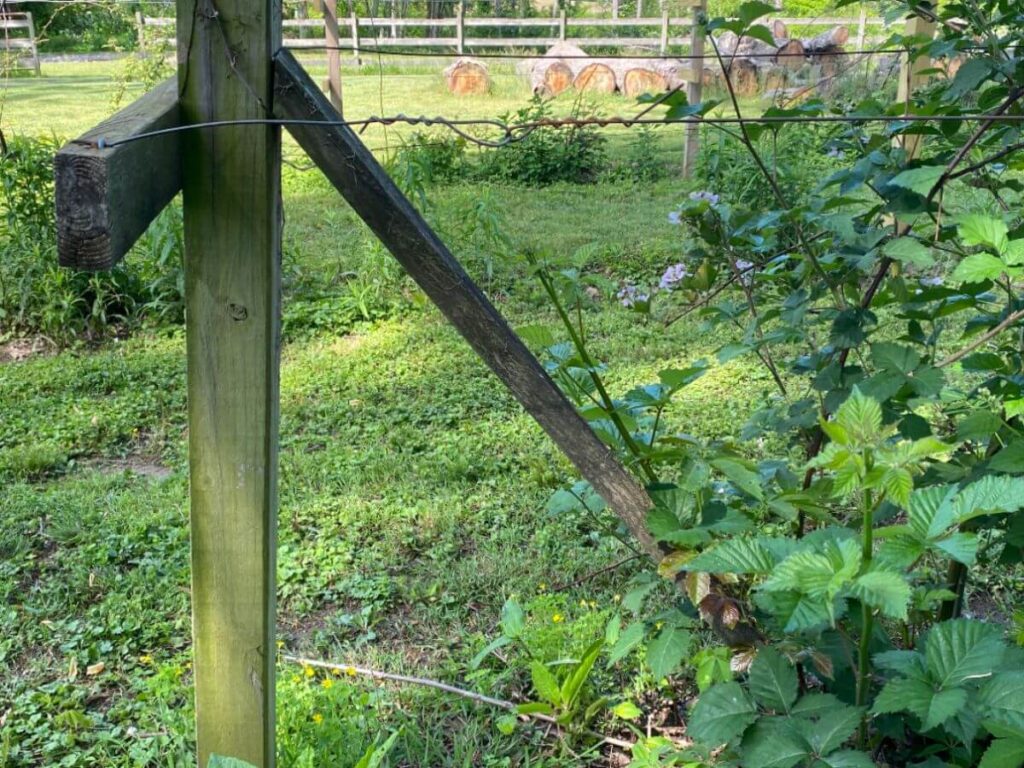
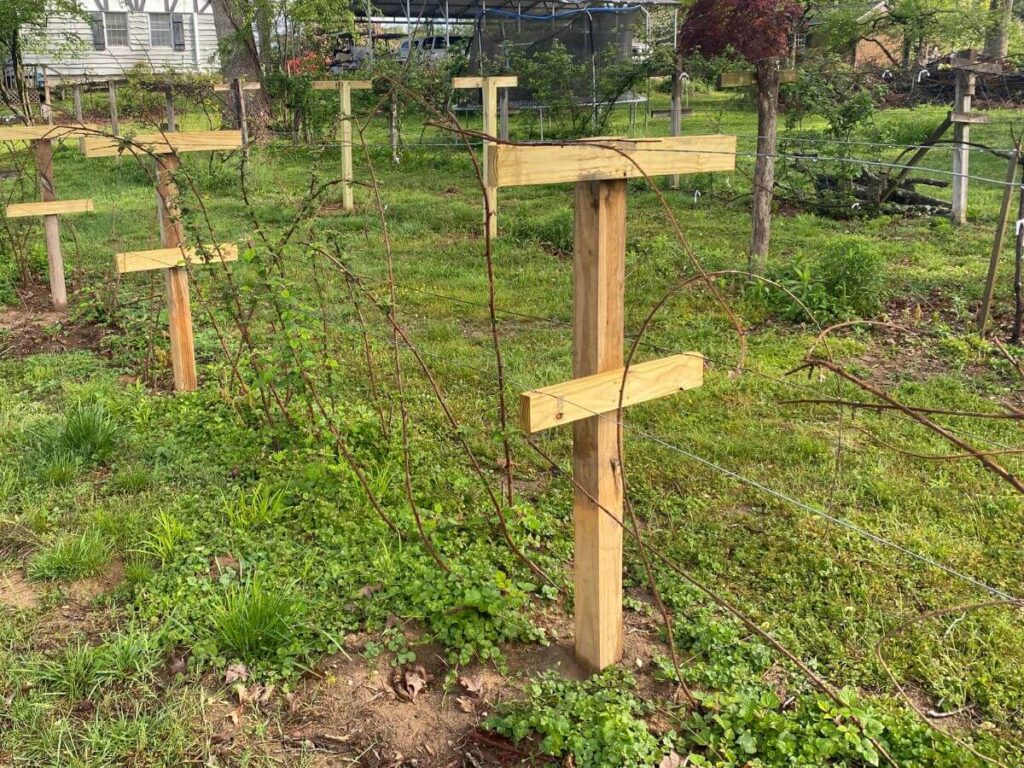
7. Attach the Cross–arms
We’re using 30-inch cross-arms on top and 24-inch cross-arms in the middle. This keeps the berries upright, while allowing space for them to spread out at the top.
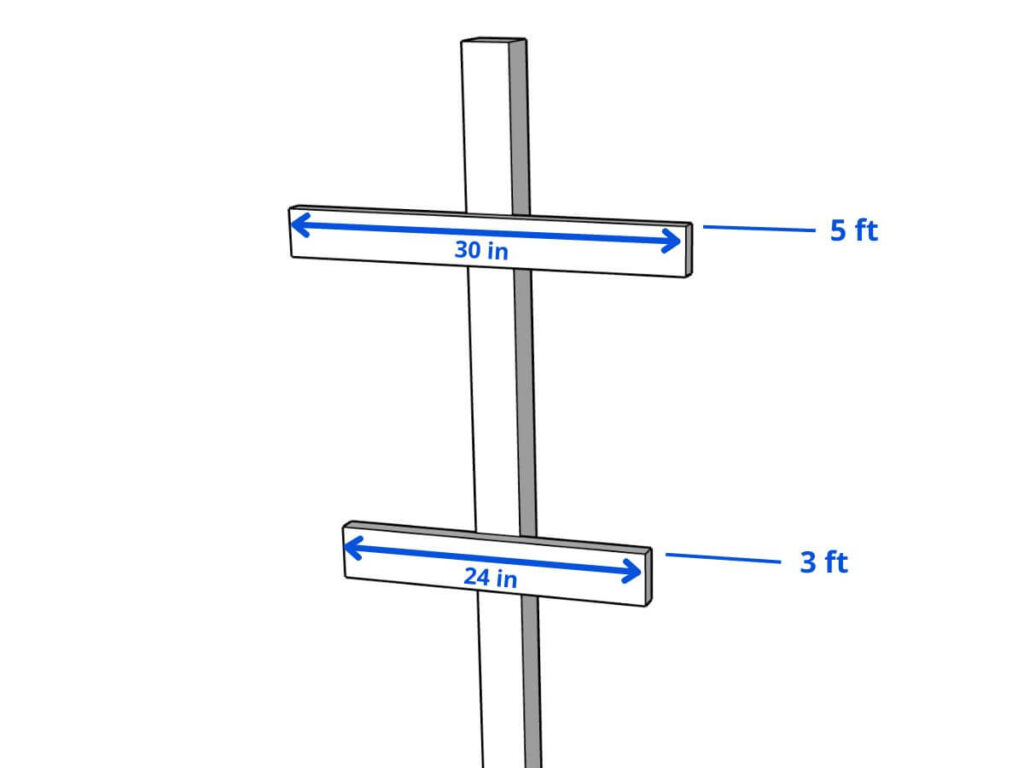
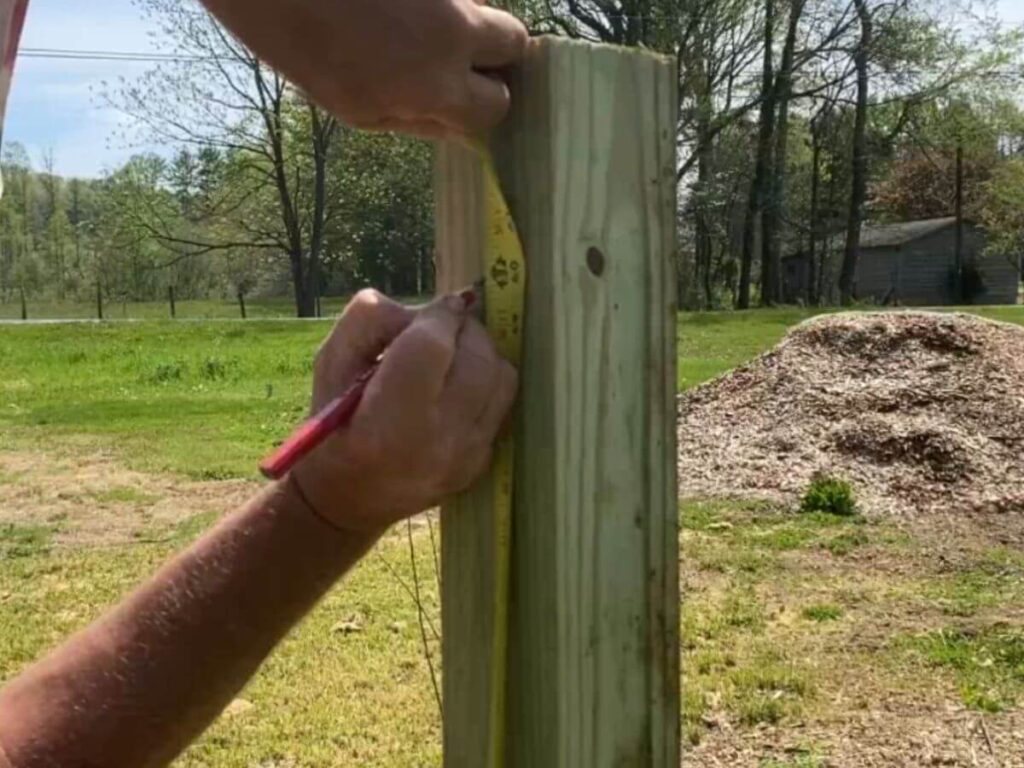
Measure up from the ground to mark 3 feet and 5 feet on each post.
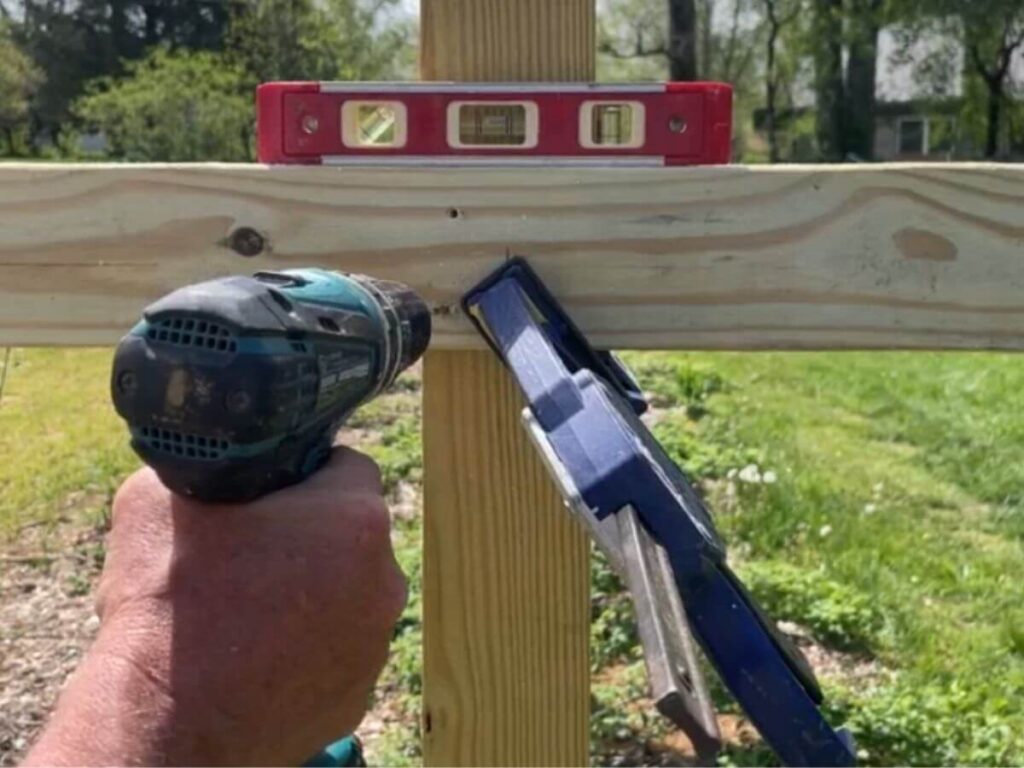
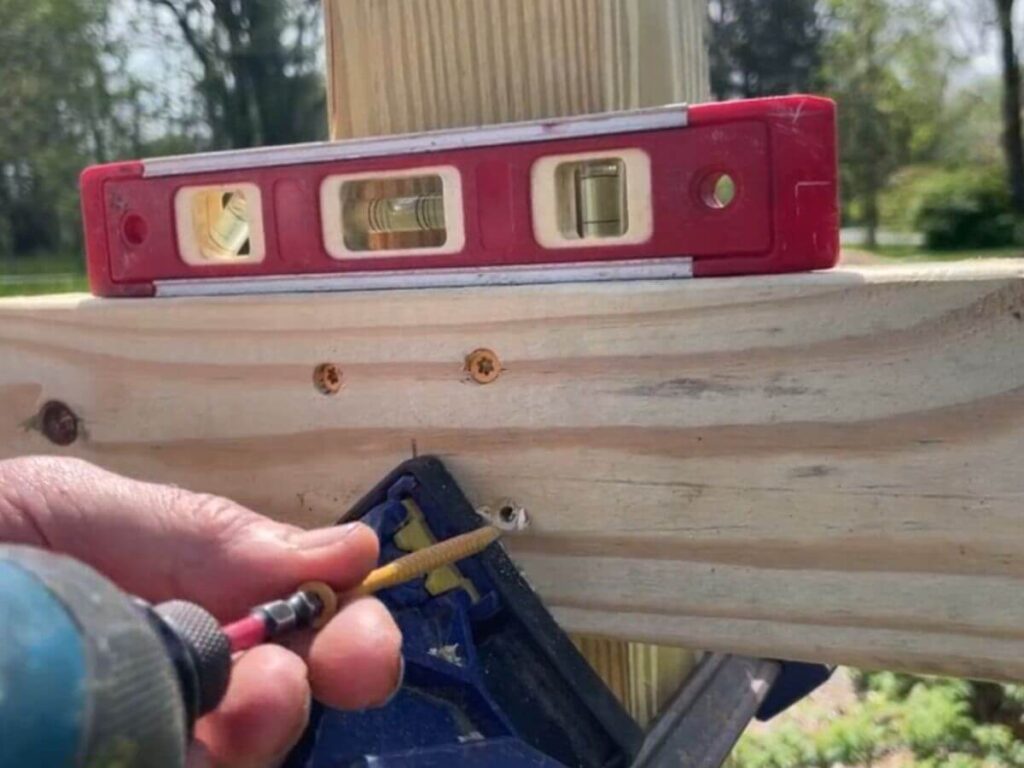
For each cross-arm, center and level the board before clamping it to the post.

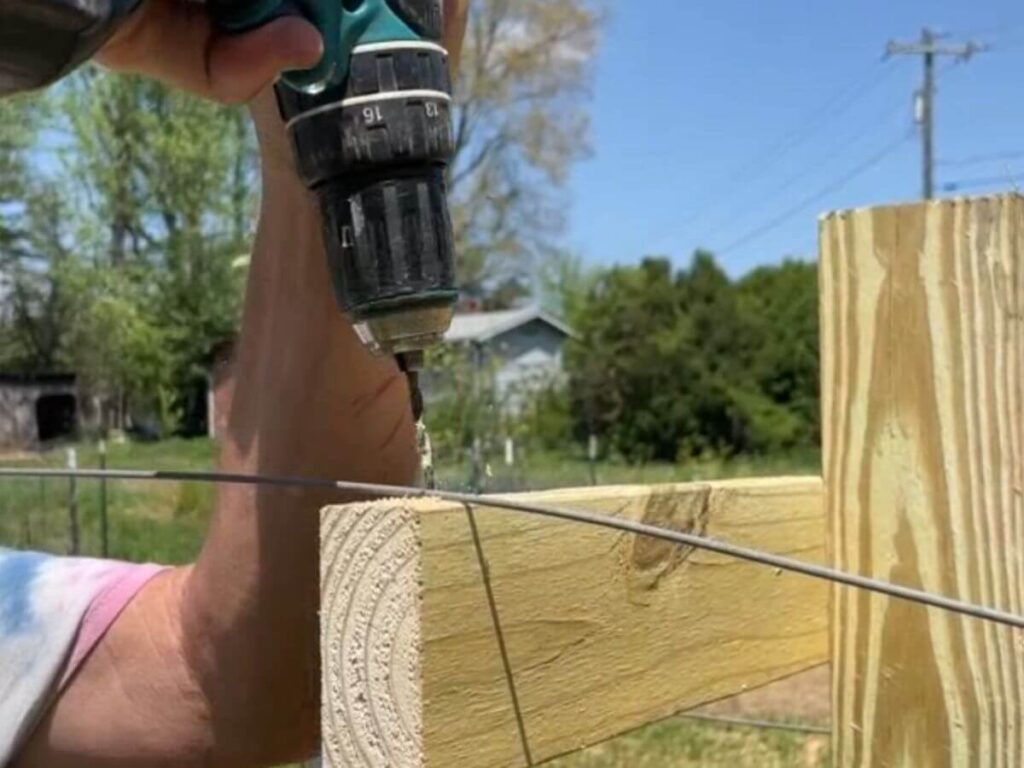
Pre-drill holes to prevent splitting and attach with four screws.
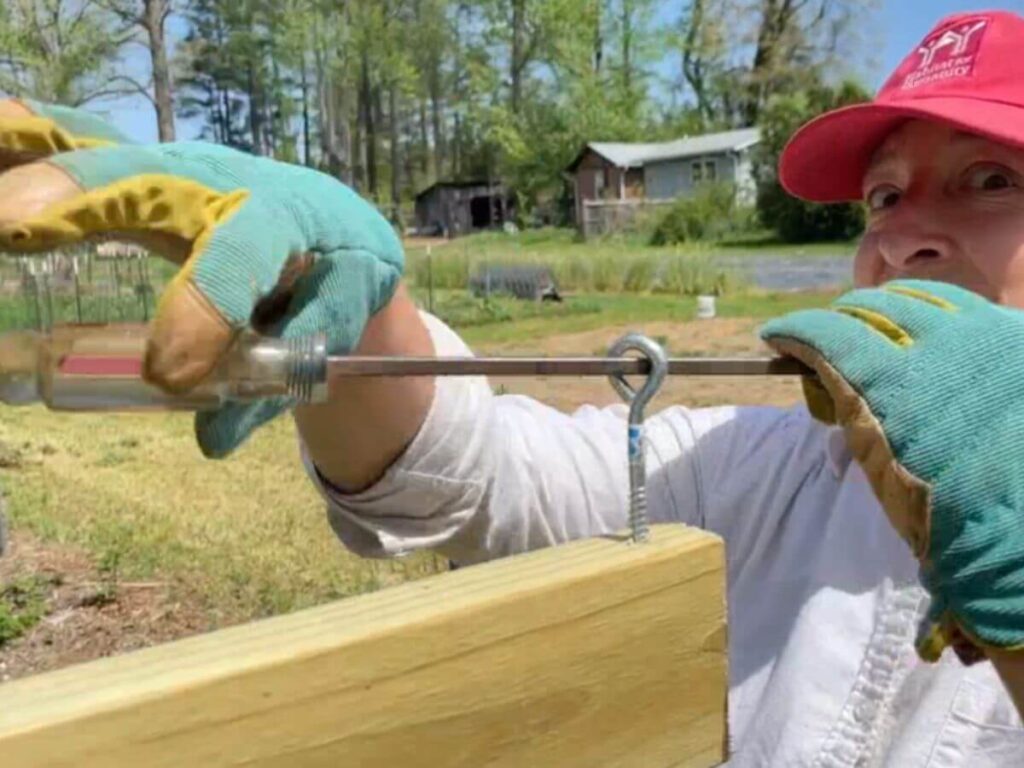
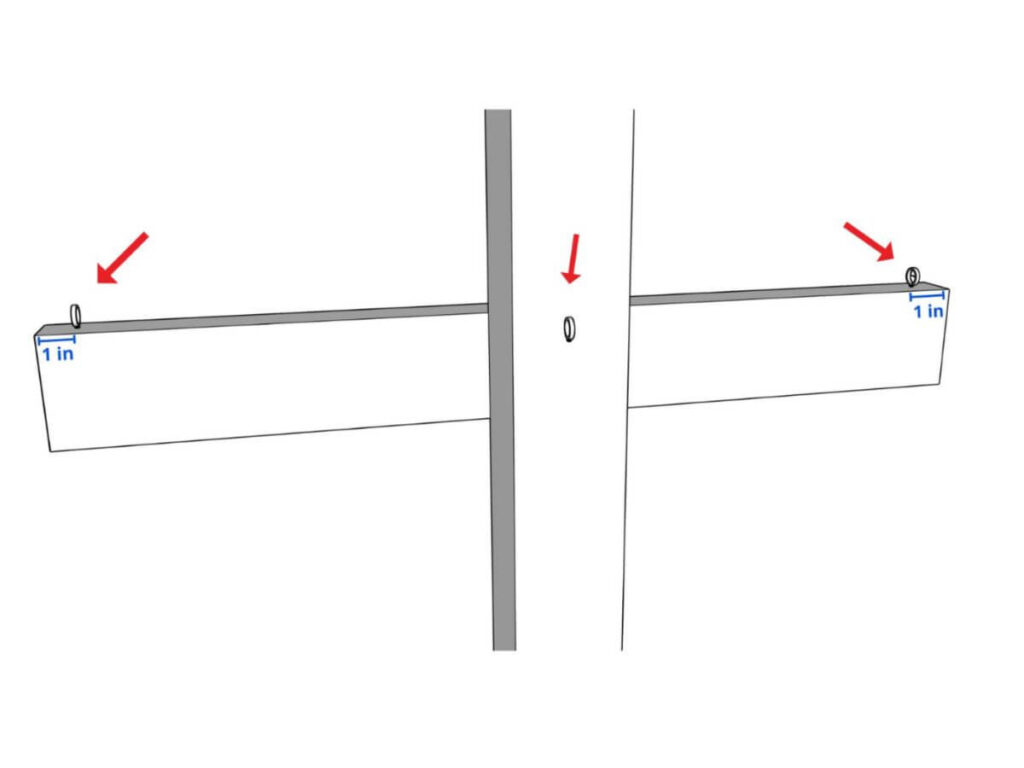
8. Install Eye Hooks (Optional)
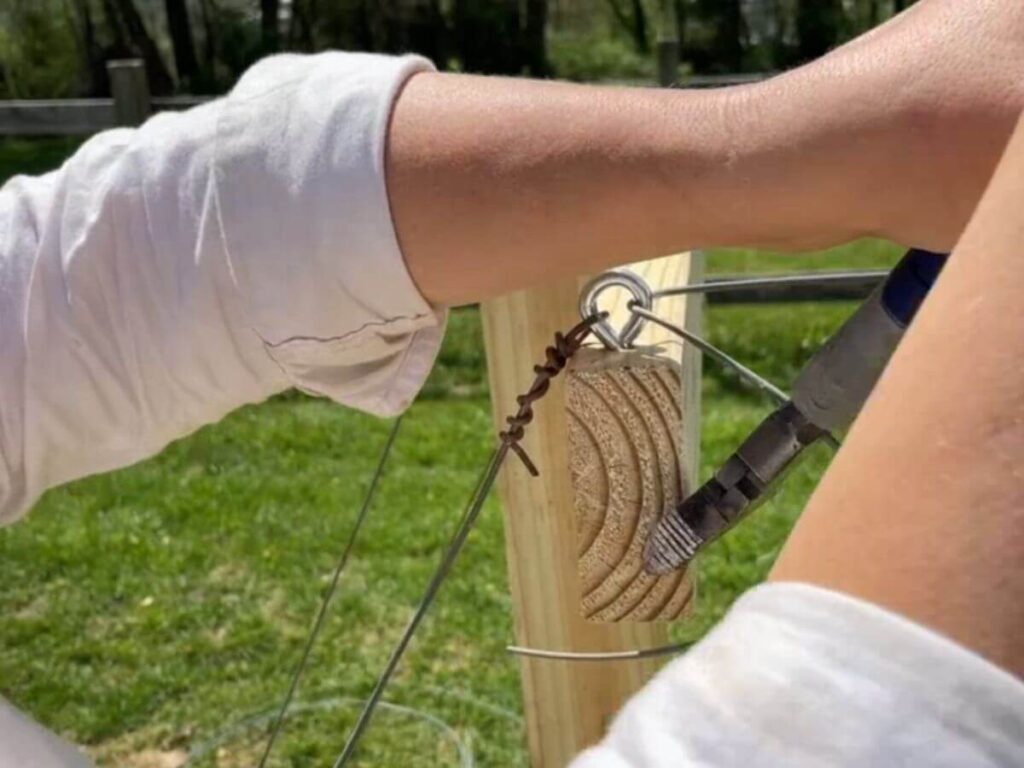
We like to use eye hooks to attach the tension wires to our end posts. (You could also attach the tension wires directly to the trellis using fence staples.)
Drill pilot holes 1 inch from the ends on the top of the upper cross-arms. At the same height, drill one more pilot hole on the outside of the post.
Twist in the eye hooks using a long screwdriver for leverage.
9. Add Tension Wires
Note: If you are setting your posts in concrete, you could skip this step.
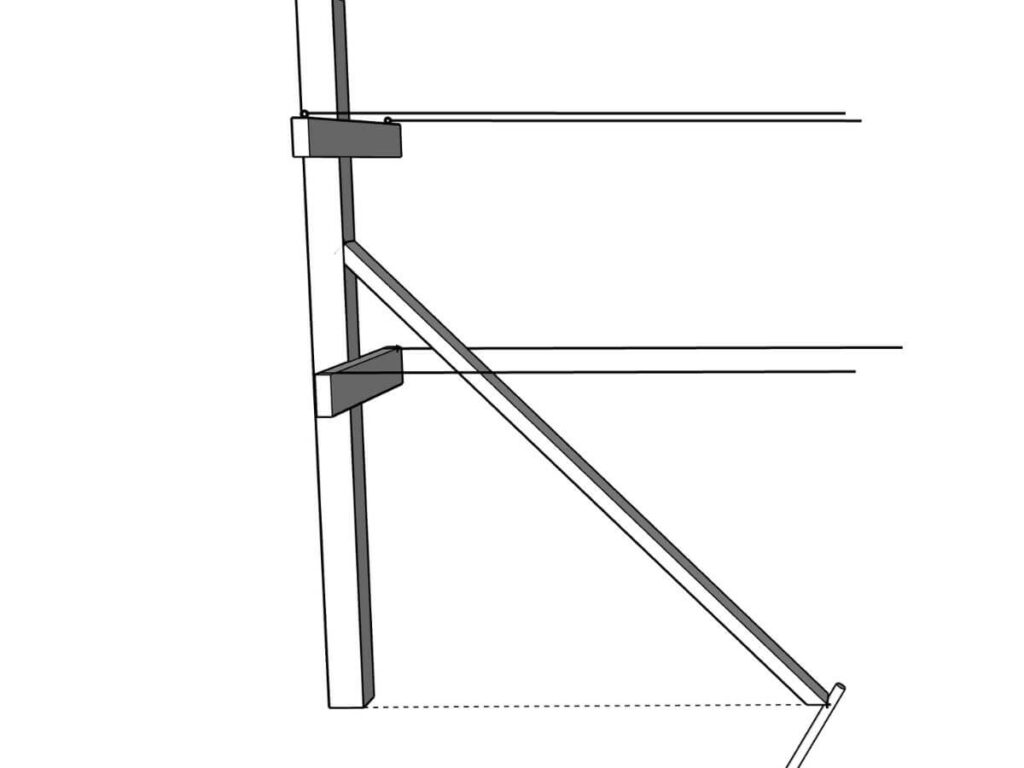
We use tension wires on the outside of each end post to prevent the end posts from sagging in over time. The three wires go from the top cross-arm to a ground stake about 3 feet out.
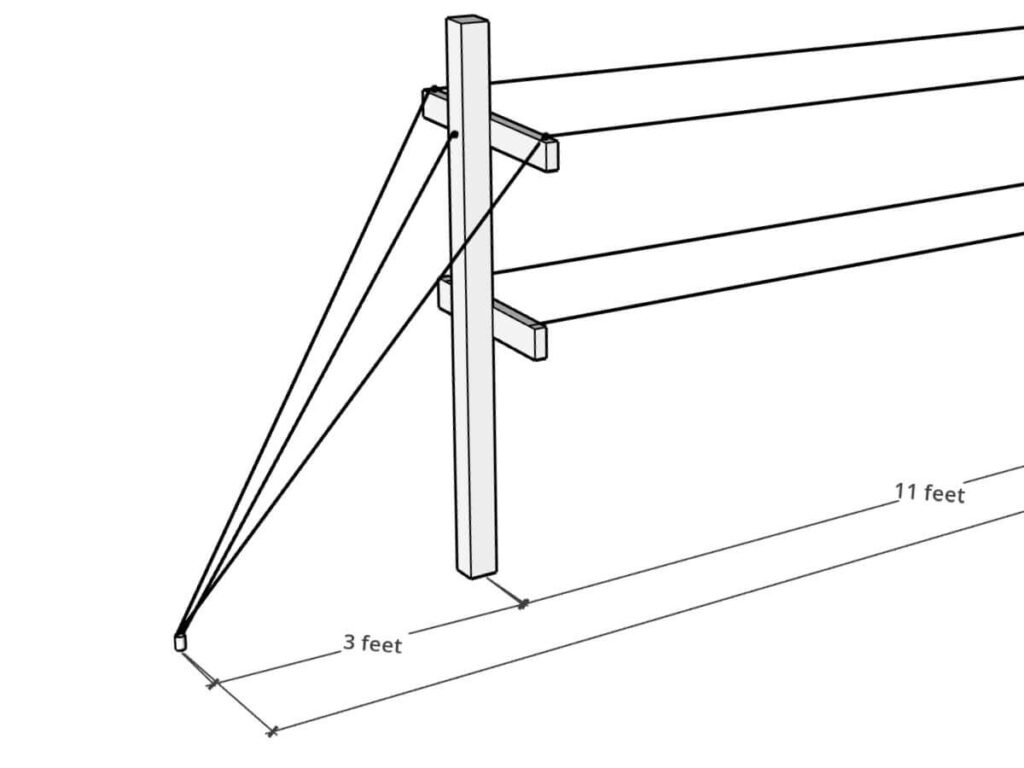
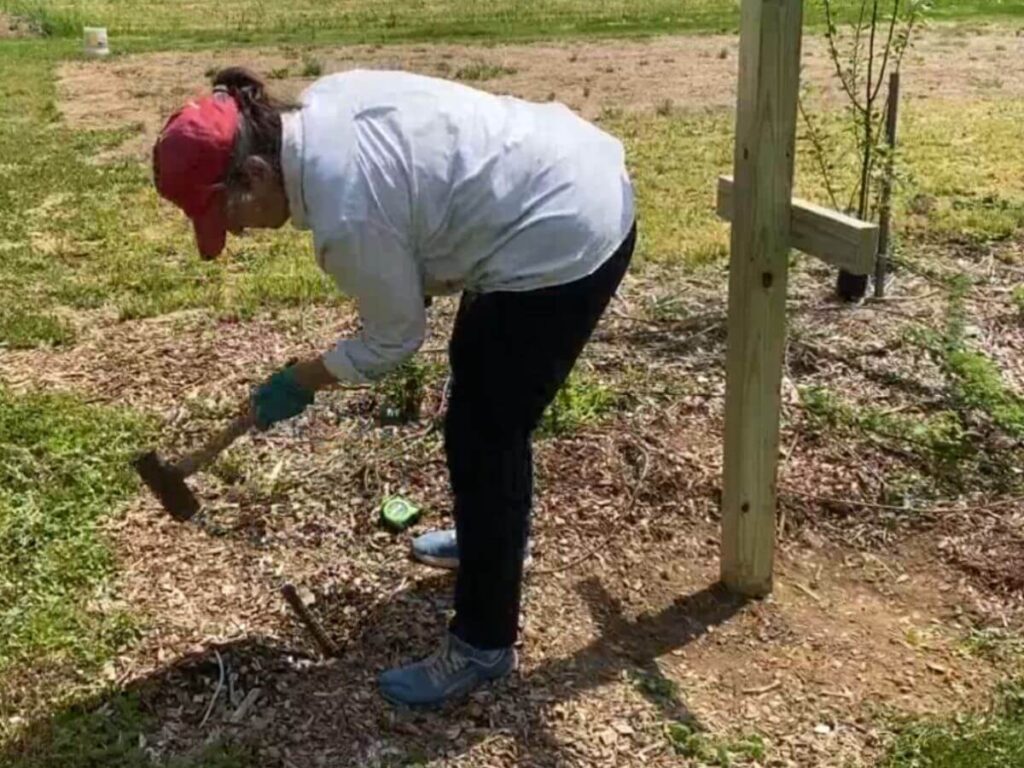
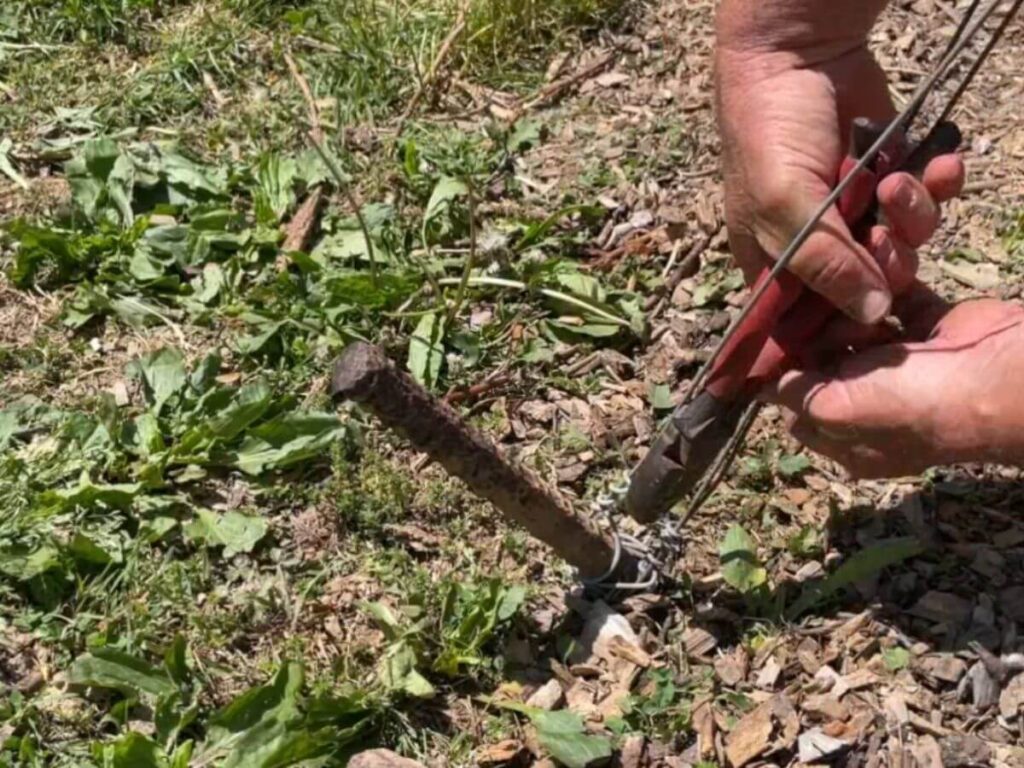
Using the sledgehammer, drive rebar stakes about 7 inches into the ground at a 45-degree angle.
Attach wires to each eye hook and then pull them down and wrap around the rebar. Drive the rebar another 3 inches into the soil to make the wires taut. We leave about an inch above ground, just in case we need to remove the stake later.
Alternatively: Add a 45-degree angle brace on the inside of each end post. Anchor the lower end with a stake to keep it from sliding.
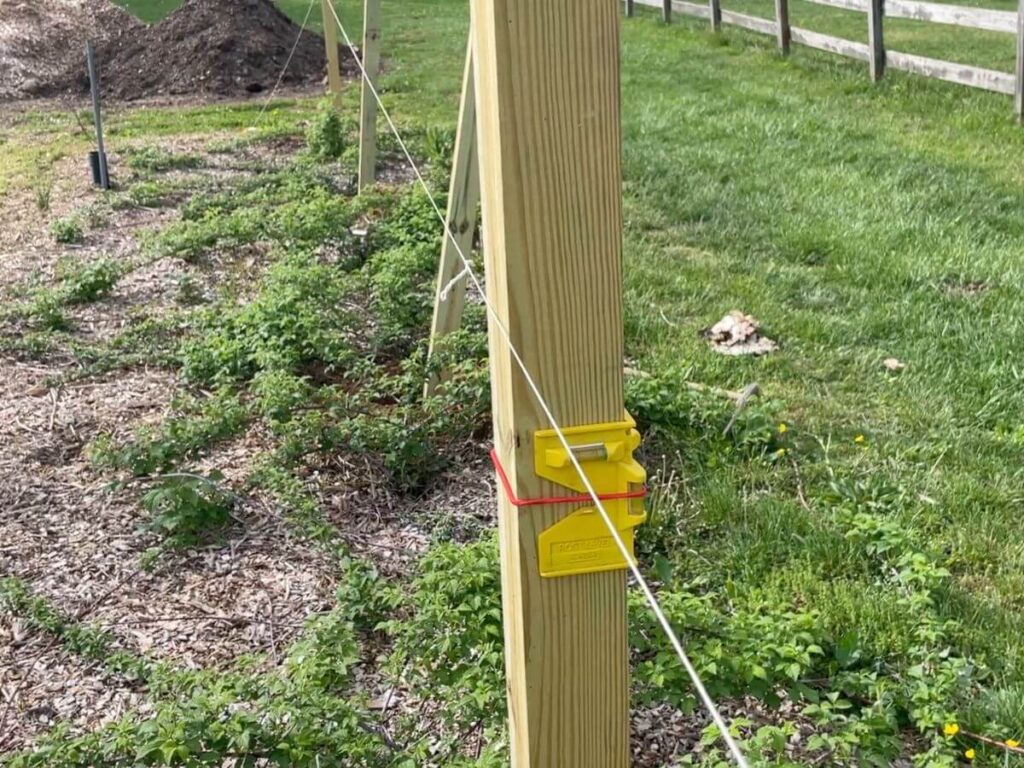
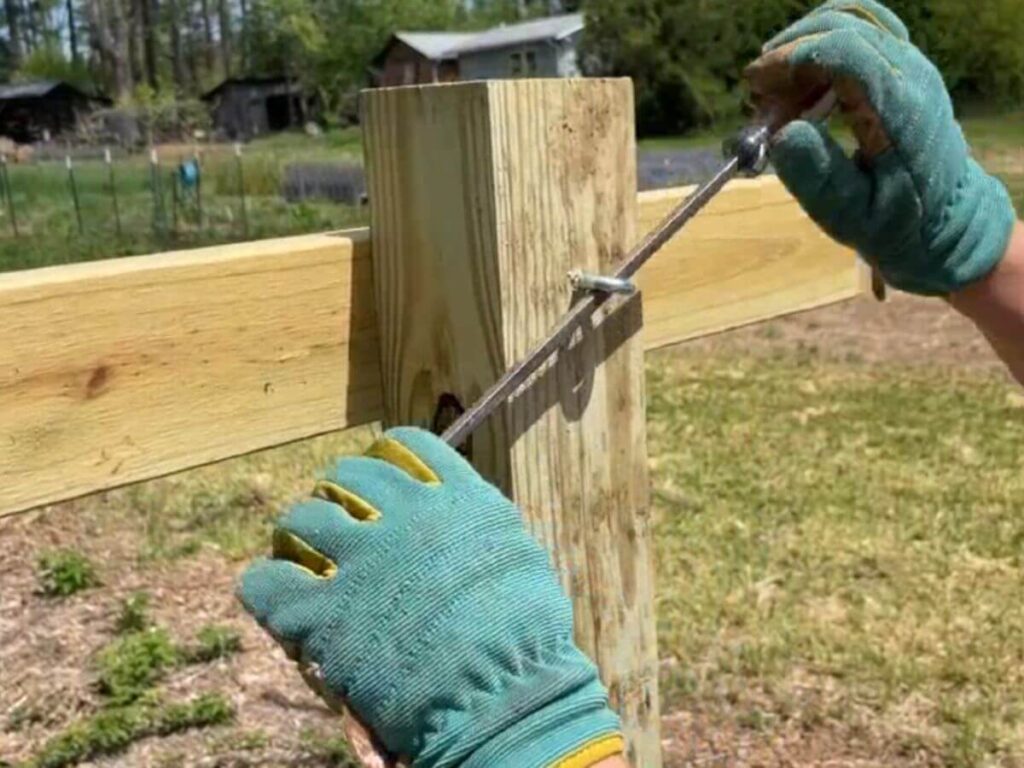
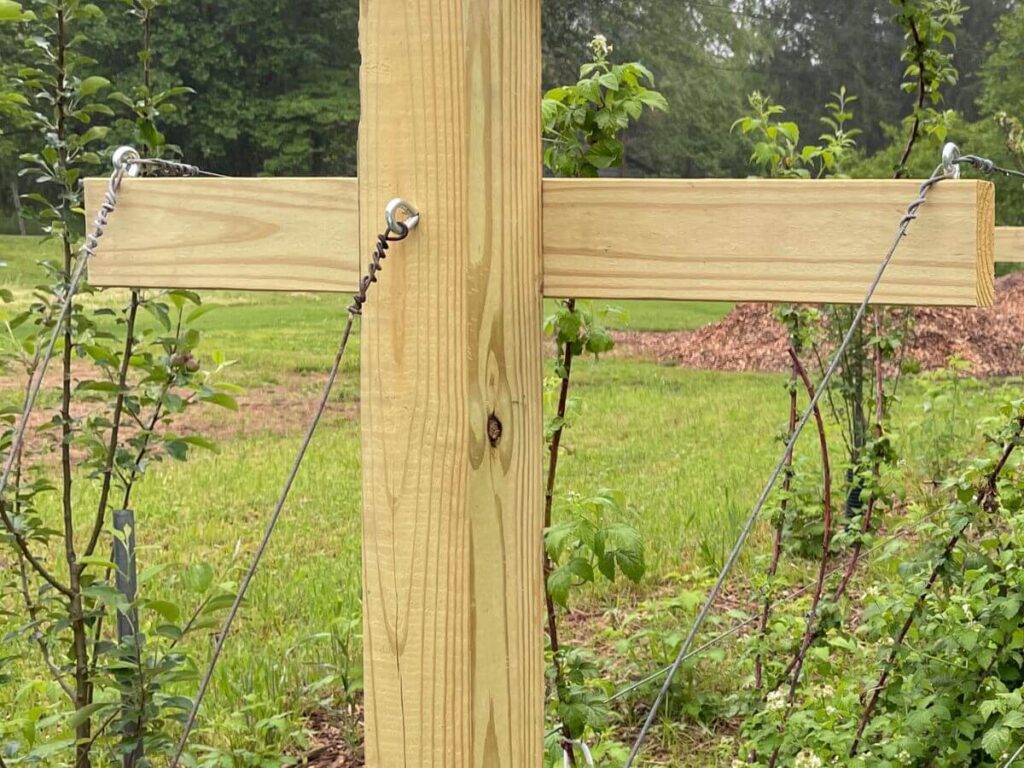
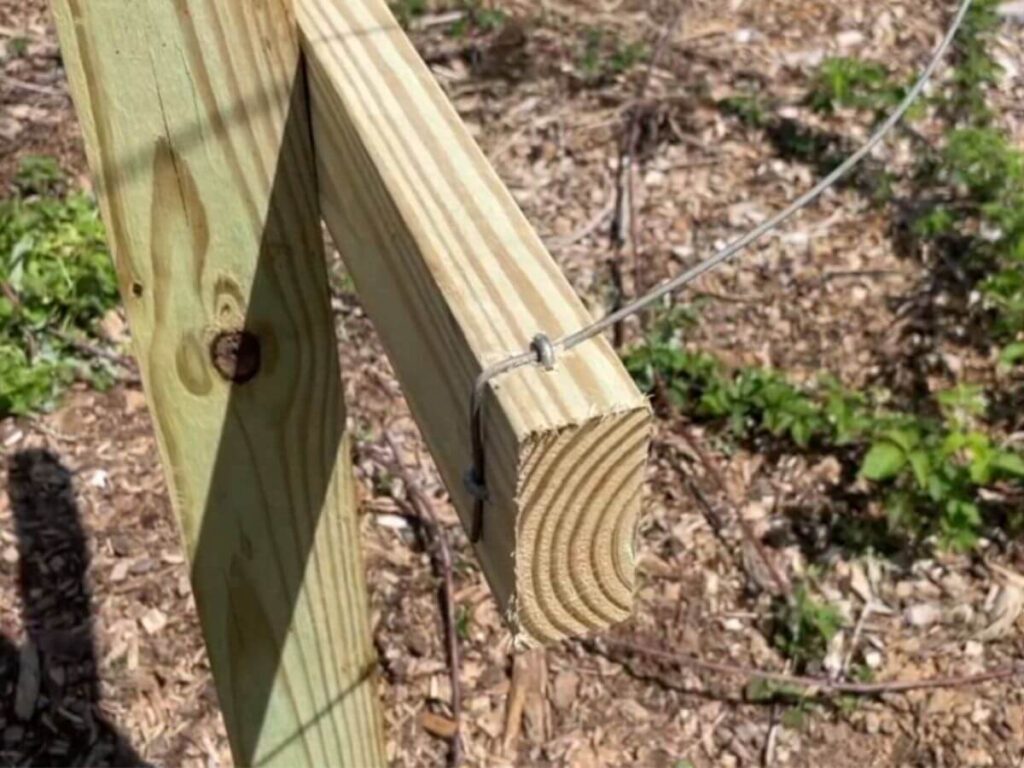
10. String the Guide Wires
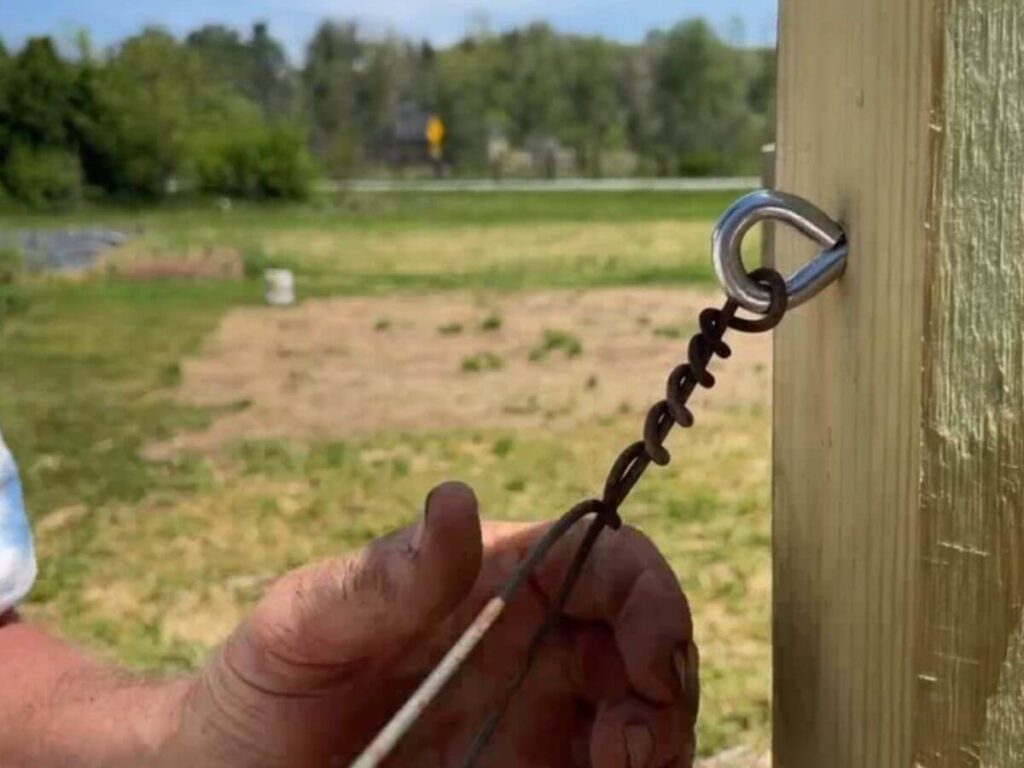
Starting at one end, attach one guide wire using the eye hook (twist around itself to secure) on the top cross-arm.

Work your way down the row attaching the wire to each cross arm.
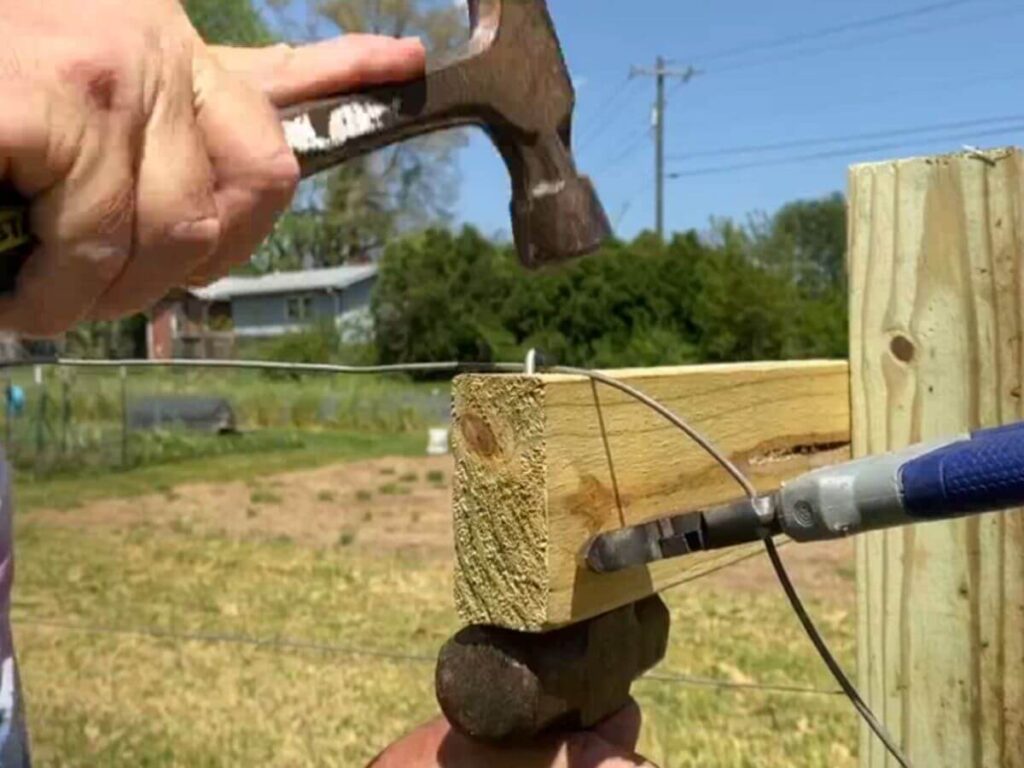
It helps to have a partner for this step. One person uses fence pliers to put tension on the wire and the second person hammers in a fence staple to hold it in place.
Pro tip: Pre-drill the holes for staples to prevent splitting.
Use a small sledge hammer or block of wood to support the cross-arm as you hammer.
At the far end, pull the wire tight and secure around itself.
Continue for each guide wire. On the bottom cross-arms, the wire is attached with a pair of fence staples — no eye hook.
11. Plant Your Berries
Now, you’re ready to plant your berries!
In the video above, we were out of order because we planted berries first. That meant we were maneuvering existing canes up into the new trellis. It works, but we recommend going trellis first, plants second.
Here’s a short video with 5 Tips for Planting Perennials:
- Know Your Plant. You’ve planned your location and layout based on the kind of berries you’re growing. Now, plant them at the recommended spacing.
- Dig a Wide Hole. It’s usually best to place your berry plant at the same soil level as it was in the pot. This keeps the crown (where roots meet the stem) at or slightly below the soil surface. You don’t need a deep hole, but it is helpful to dig a wide one so the soil around your new plant is looser.
- Don’t Amend the Planting Hole. You want the roots of your berries to spread out into the native soil. If you add the on the surface and let soil organisms work at moving them in.
- Prune Flowers and Fruit. Remove any flowers or fruit so the plant can focus its energy on establishing strong roots. Also trim leggy or damaged branches.
- Mulch Well. Mulch with leaves, straw, or wood chips around the base to retain moisture and suppress weeds. Sheet mulching, using cardboard or a few layers of newspaper under your mulch, can work well.
A Final Touch
If you like, you can trim off the remaining few inches of the post above the top crossarm with a reciprocating saw. This will give your trellis that Double T look, kind of like the logo from Colby’s alma mater, Texas Tech.
Ready to Build Your Own?
Grab the free T-Trellis Workbook and take the guesswork out of planning your support system for raspberries and blackberries.